Aurora HDR 2018 review
Introduction
Macphun is a photography software developer based in California. A team of passionate photographers started the company back in 2008, exclusively making software like FX Photo Studio, Tonality, Intensify, Snapheal for Mac users. Recently though, they’ve started porting their apps to Windows, and this includes the latest installment of their HDR photo software called Aurora HDR 2018.
Now if you’re not familiar with HDR photography, there are two basic techniques that are used to achieve images with a perceived high dynamic range: tone blending and luminosity masking. These techniques have been created to overcome the dynamic range limitations of cameras, be it analog or digital, and said limitations of the desired output medium, be it paper or a modern computer screen. It all started with approximating what the human eye can see (the range from bright to dark) but has evolved into an art form by itself with the coming of modern digital sensors.
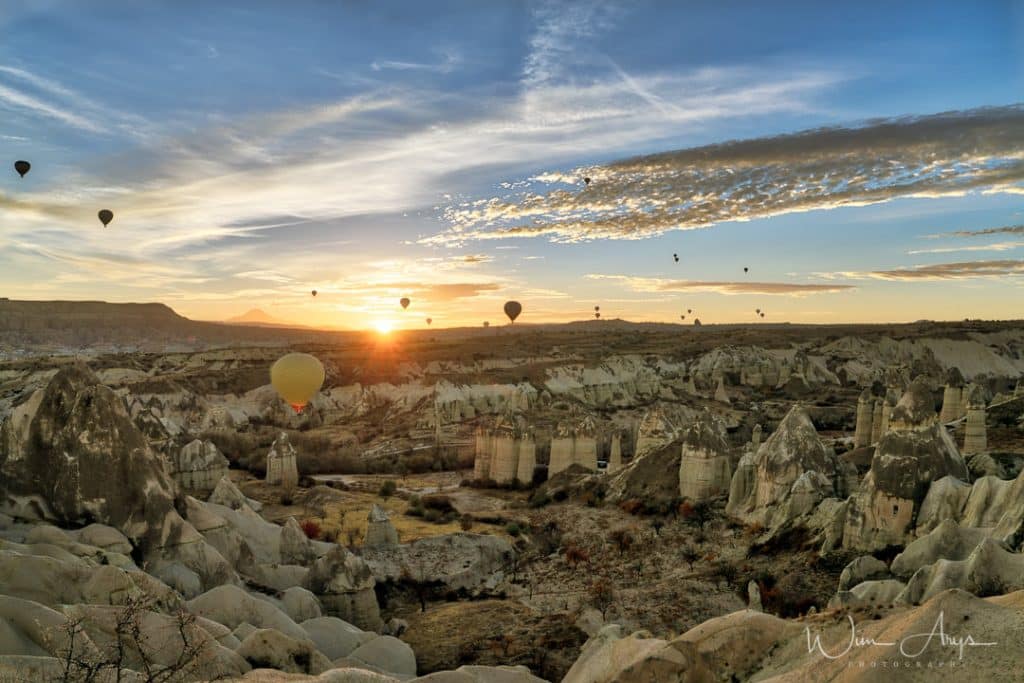
The starting point for both techniques is almost always a range of bracketed images, with each bracket aiming for a correct exposure of shadows, highlights, and in-betweens. These are then merged together to form a final image with a perfect (or at least better) perceived dynamic range. Modern sensors are often flexible enough to ‘push’ the darks and turn down the highs, but this often adds noise to those areas, and that is something modern HDR photography wants to avoid. Maximum quality and flexibility for further manipulation are crucial.
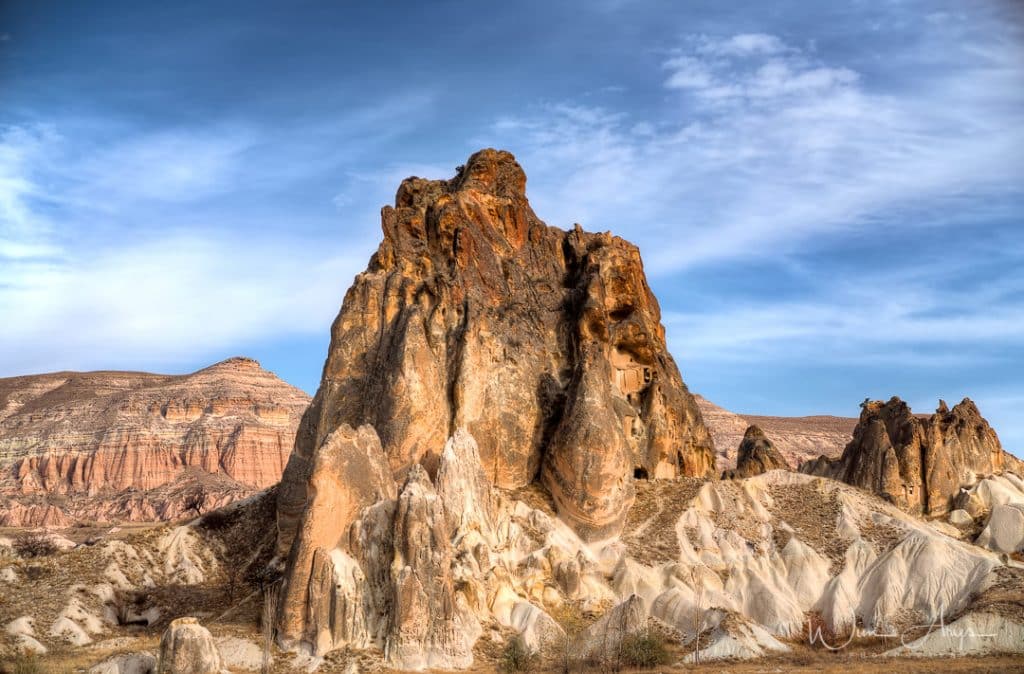
Getting back to those two techniques: luminosity masking basically cuts out the ideally exposed parts of those images and merges these together, but has the limitation of leaving you with a relatively flat or low contrast image. There are ways to counter this of course, but that is for another post. Tone mapping (what Aurora HDR is built on) actually uses the total tonal range (that is around 400 times larger than what your screen can reproduce) and will convert this in a 32 BIT environment to tonal values ranging from around 1 to 255. The goal is to reproduce the appearance of images having a higher dynamic range to display properly on standard display devices.
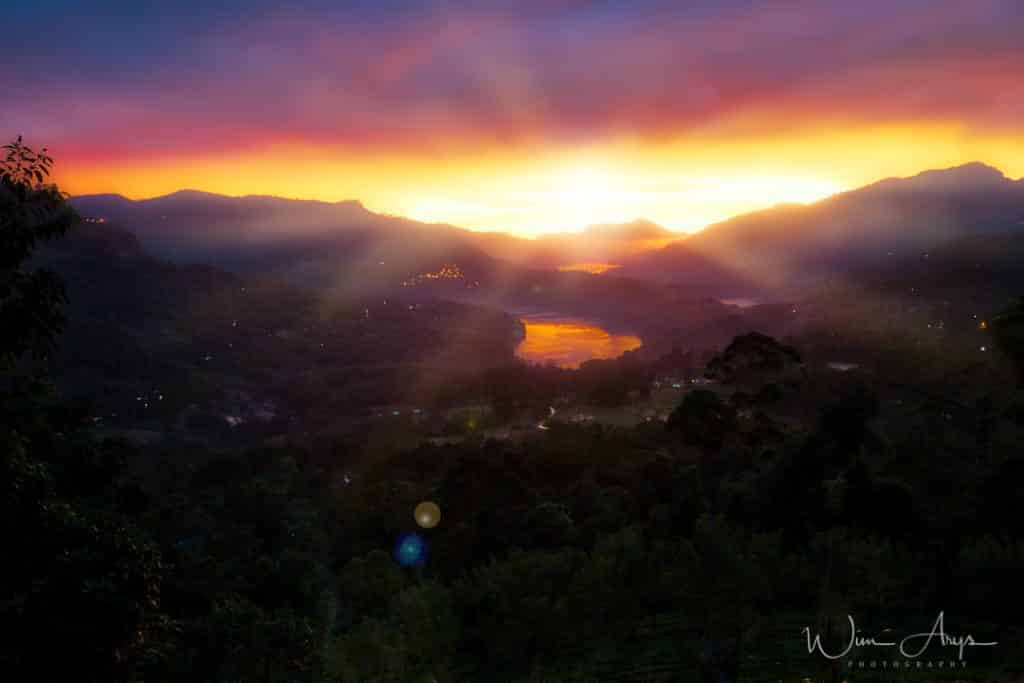
The algorithms that tone mapping use to scale the dynamic range down in an attempt to preserve the appearance of the original image captured by breaking the information up into two categories: global and local.
Global operators map each pixel based on its intensity and global image characteristics. The process ignores its spatial location or if it’s in a dark or light area. Using global only tends to leave you with a flat non-contrasty image after the conversion process.
Local Operators uses the location of the pixel in the image when analyzing the appropriate scaling for it. This allows each pixel of a given intensity will be mapped to a different value depending on whether it’s found in a dark or light area. Local tone mapping requires the system to look up surrounding values for every pixel mapped. This makes it slower (and more memory/system intensive) but leaves you with a much richer and eye pleasing image when correctly done.

Now back to Aurora HDR 2018. It’s probably the most complete and easiest way to make both realistic or creative tone mapping HDR’s at this moment. It’s updated regularly since the 2015 release and has continuously been updated with the latest advancements in HDR photography. Whilst other HDR applications would, for instance, necessitate you to develop RAW files first in order to correct for lens distortion, Aurora has a built-in RAW engine that does this automatically for you. Macphun has also been at the forefront intelligent enhancements with their Luminar application, so many tasks are at least partially automated and easily controllable with the sliders. An advanced masking system is also built-in, allowing you to adjust and process selected areas of your image differently. It’s also possible to denoise in the app itself, and then use layers to selectively denoise the sky for instance. There are also many presets included in the bundle for beginners, so you can quickly edit your images and find your own style.
Aurora HDR 2018 New Features
The Aurora 2018 release again brings some new and interesting features. These might not look that impressive on paper but they’re all very useful for your workflow and will allow you to do every type of edit inside Aurora instead of doing extra edits in Photoshop.
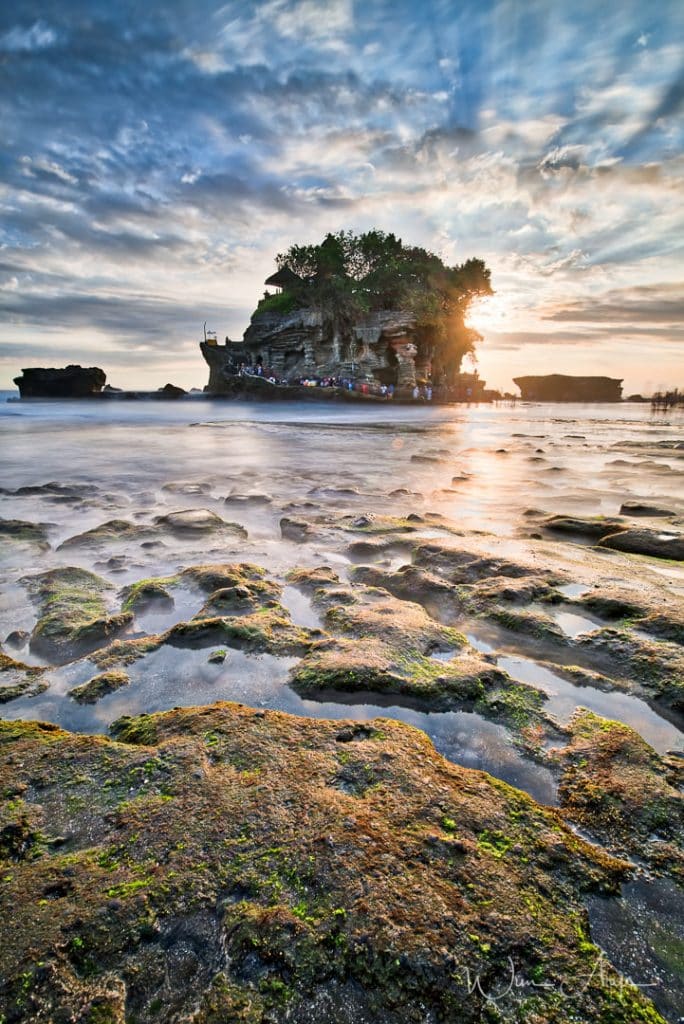
Firstly, the tone mapping engine is now faster and has been rewritten for more natural results. Whilst I was at times hesitant of making HDR’s in Aurora before because I don’t like that over processed look, it’s now way easier to get realistic and delicate looking results. Secondly, the RAW processing engine also got a haul over, and I now see no difference when developing in, say, DXO Optics Pro or directly importing a stack of images in Aurora. Linked to that, there is now also a separate lens correction tab where you can remove wide angle distortion and CA. And you can go even further than that with the upright correction tab next to it, that allows you to change perspective and straighten lines, ideal for landscapes and architecture shots made with wide angle lenses that tend to bow lines outwards.
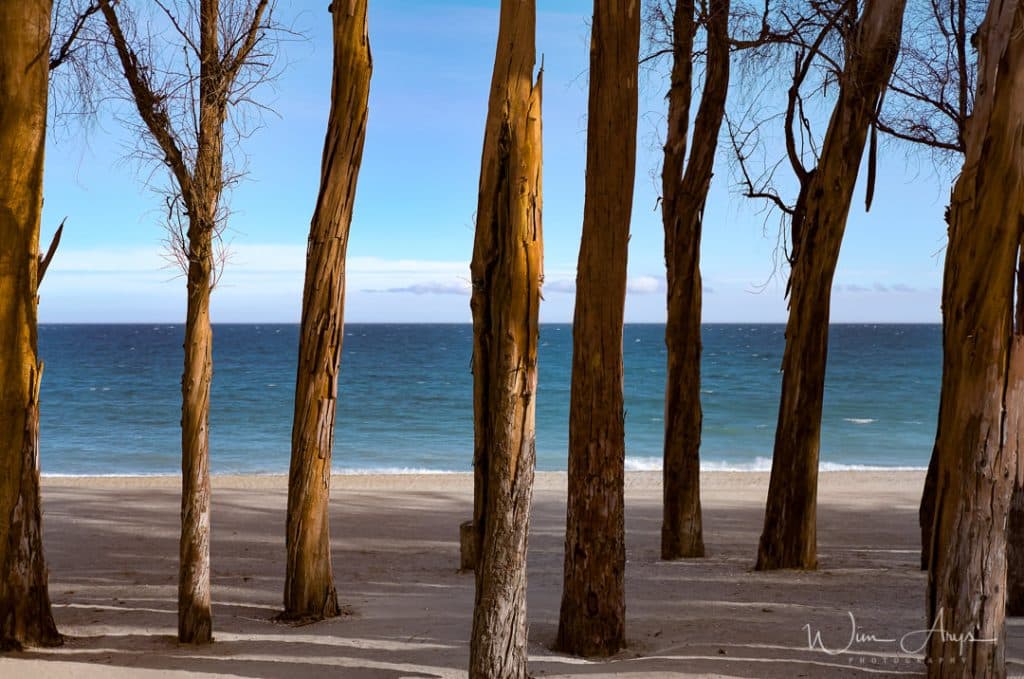
The dodge and Burn tool is another very useful addition. Now you can darken or lighten specific regions of an image with the stroke of a brush. Aurora HDR 2018 now also allows you to edit your images in a truly nondestructive way thanks to the history tab. There, you can see all the edits you’ve made during the session and go back in time if you think you’ve overdone it at a point.
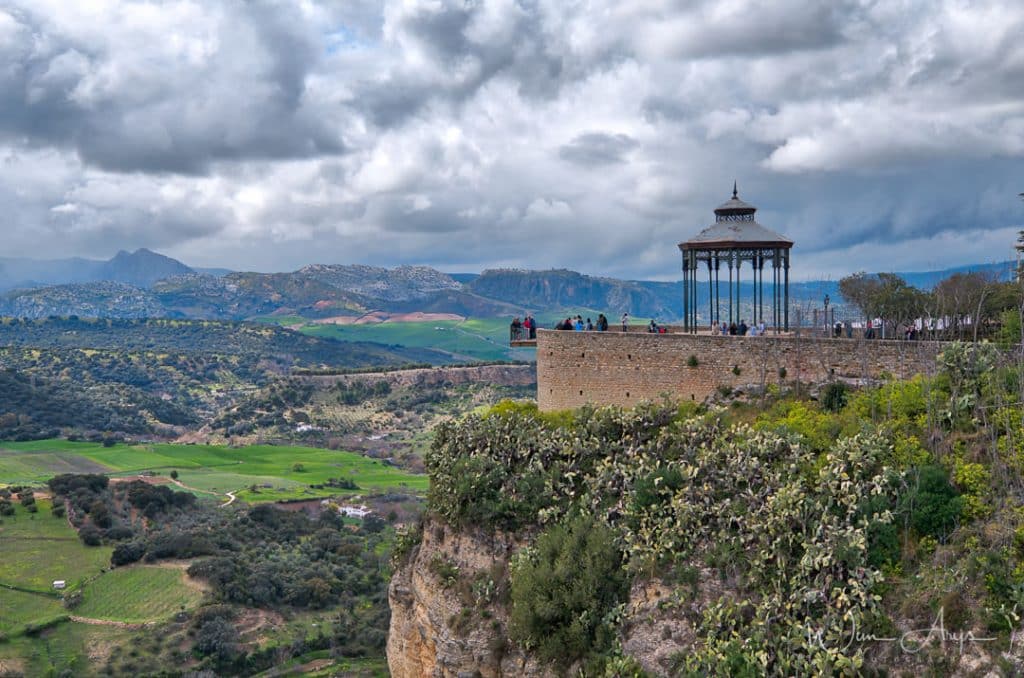
Finally, an HDR enhance slider has also been added. This is an intelligent process that analyzes your image and adds clarity, contrast, and structure selectively without bringing in too much noise and other artifacts.
Conclusion
If you’re looking for a one stop HDR editor with advanced features that is also easy and fast to use, you’ll definitely find it in Aurora HDR 2018. That to a tally rewritten processing engine, you’ll be able to achieve very realistic and eye-pleasing results. RAW support has also been enhanced and now includes a separate lens correction tab to correct lens distortion and there is now also an upright correction function that allows you to make advanced upright and perspective changes, just like you can do in Photoshop or even DXO viewpoint.
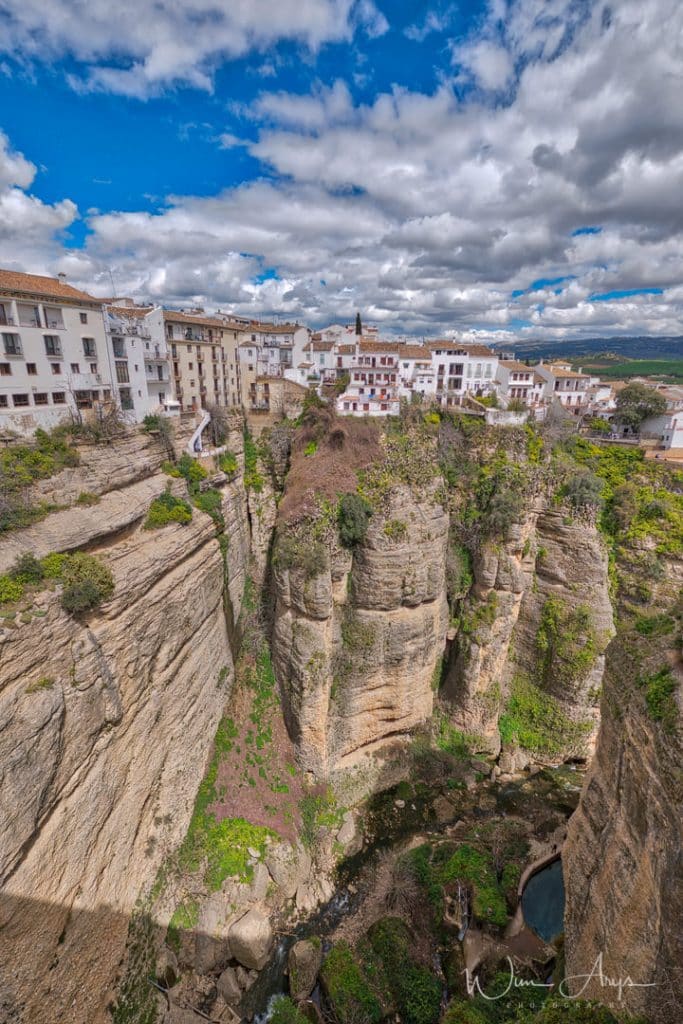
The new dodge and burn tool will make your life much if you’re used to working with brushing techniques to turn down highs or bring up lows in other editors. The HDR enhancer slider is also new, and similar to the functionality in Macphuns’ Luminar intelligently analyzes your image and adds HDR magic to it. A great starting point without the need to dive into presets. The Aurora app is now truly nondestructive with the addition of a history tab.

I believe Macphun is trying to make this app really a one stop shop for your HDR editing, and with this latest version, they’ve really succeeded. Highly recommended.
Purchase and availability
Aurora HDR 2018 is available for pre-order now here and will be released at the end of September.


I want Aurora bu need to wait till price goes down.
Maybe they’ll do a deal around black Friday Ronnie.