Mastering HDR Landscape Settings for Stunning Photos
HDR (High Dynamic Range) photography is a powerful technique for capturing landscapes with a wide range of tones, from bright skies to shadowed ground. By combining multiple exposures, HDR brings out rich details in both highlights and shadows, creating a balanced and dynamic image. Here’s a guide to the best HDR landscape settings and tips to elevate your outdoor photography.
What is HDR Photography?
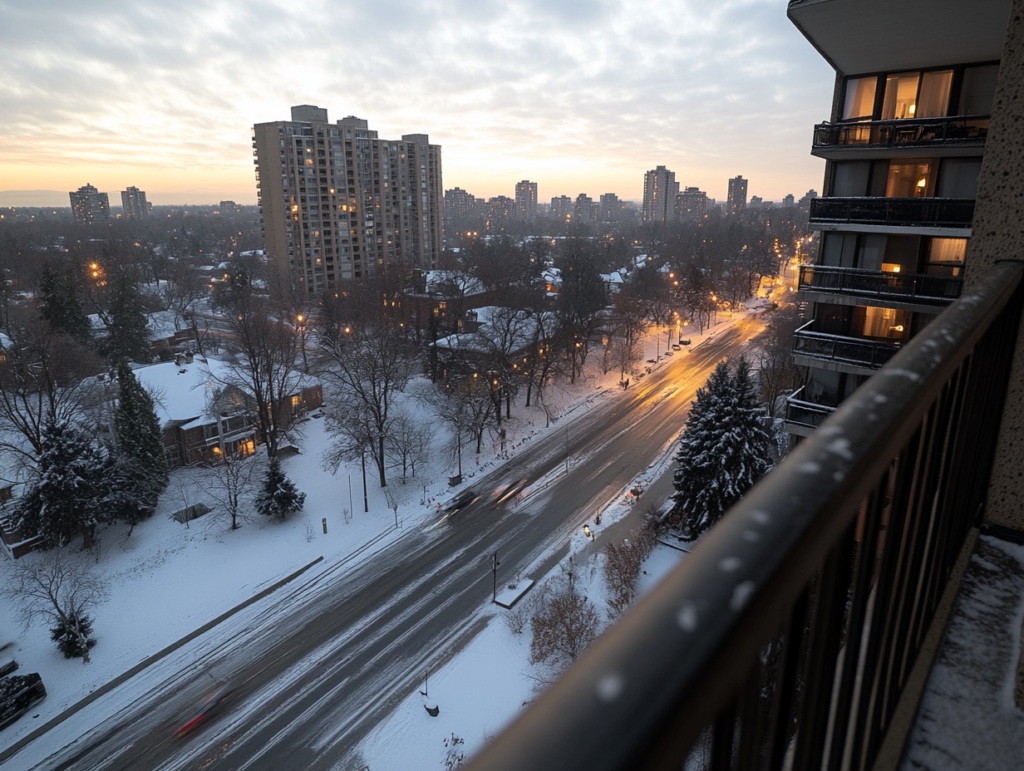
HDR photography involves taking multiple shots of the same scene at different exposures, then merging them into one image. This technique captures a broader range of light and detail than a single exposure could achieve. HDR is particularly useful for landscapes, where light varies dramatically across a scene.
How HDR Works
Typically, HDR photos consist of three images: one correctly exposed, one underexposed, and one overexposed. Software like Lightroom or Photoshop blends these images, preserving detail in highlights and shadows. Most cameras also offer an in-camera HDR mode, simplifying the process.
Recommended HDR Settings for Landscape Photography
1. Use Aperture Priority Mode
Set your camera to Aperture Priority (A/Av) mode to maintain a consistent depth of field across exposures. Choose a small aperture, such as f/8 or f/11, for sharp detail throughout the scene. This setting also allows the camera to adjust shutter speed automatically, making exposure bracketing easier.
2. Set Exposure Bracketing
Exposure bracketing captures multiple exposures in quick succession, which is essential for HDR. Set your camera to take three or five shots with varying exposures:
- 3-Bracket HDR: Take three shots, typically at -2, 0, and +2 EV. This is standard for many HDR images.
- 5-Bracket HDR: Capture five exposures (e.g., -2, -1, 0, +1, +2 EV) for scenes with extreme contrast, like sunsets or mountain ranges.
Tip: Use the auto-exposure bracketing (AEB) function on your camera to automate the process, allowing for quicker captures and less movement between frames.
3. Keep ISO Low
Set your ISO to a low value (ISO 100 or 200) to reduce noise, especially in the shadows. HDR merges can amplify noise, so a low ISO ensures the cleanest possible image.
4. Use a Tripod
For HDR landscapes, it’s essential to keep the camera stable across multiple exposures. A tripod minimizes movement, ensuring each shot aligns perfectly when merged. This is particularly important in low light, where longer exposures are required.
5. Turn Off Auto White Balance
Auto White Balance (AWB) can vary across shots, leading to color inconsistencies in the final HDR image. Instead, set white balance manually based on the lighting conditions (e.g., Daylight or Cloudy) for a consistent color profile across exposures.
In-Camera HDR vs. Manual HDR Processing
In-Camera HDR Mode
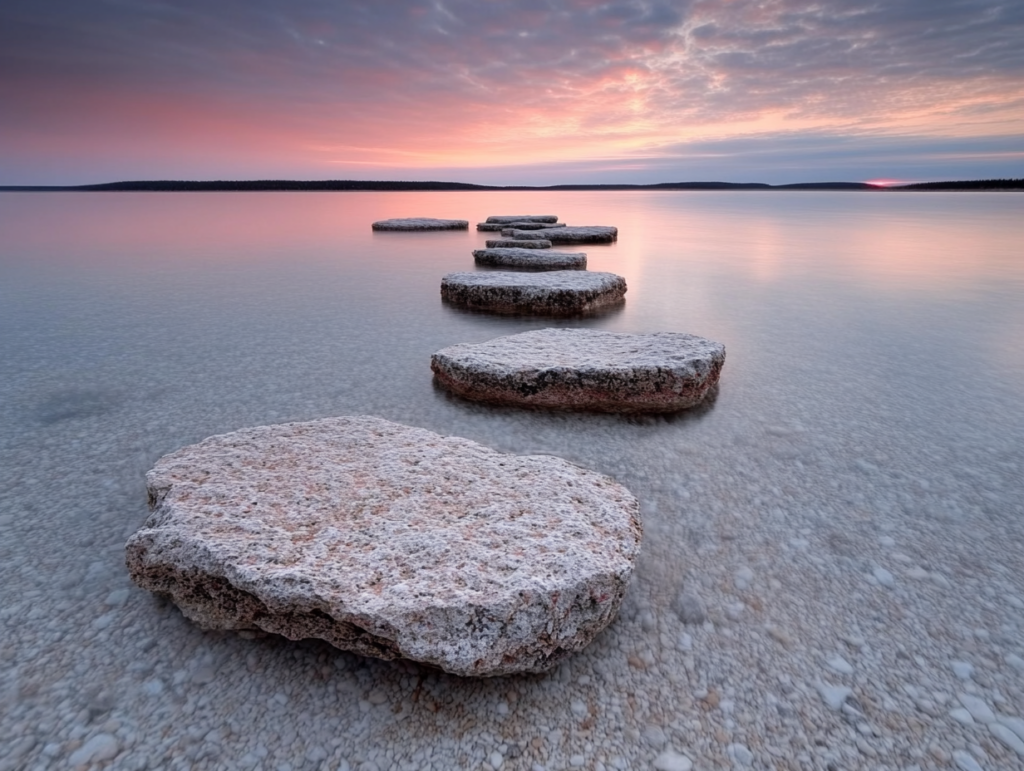
Many cameras offer an in-camera HDR mode that automatically combines exposures. While convenient, it may not provide the same level of control as manual HDR processing in software. This option works well for quick HDR shots, but the results may lack detail compared to software-merged HDR images.
Manual HDR Processing
For the highest quality results, shoot in RAW and combine the images in software like Lightroom, Photoshop, or specialized HDR software such as Aurora HDR. Manual processing gives you more control over tone mapping, color correction, and overall balance, allowing for natural-looking HDR landscapes.
Editing Tips for HDR Landscapes
1. Tone Mapping
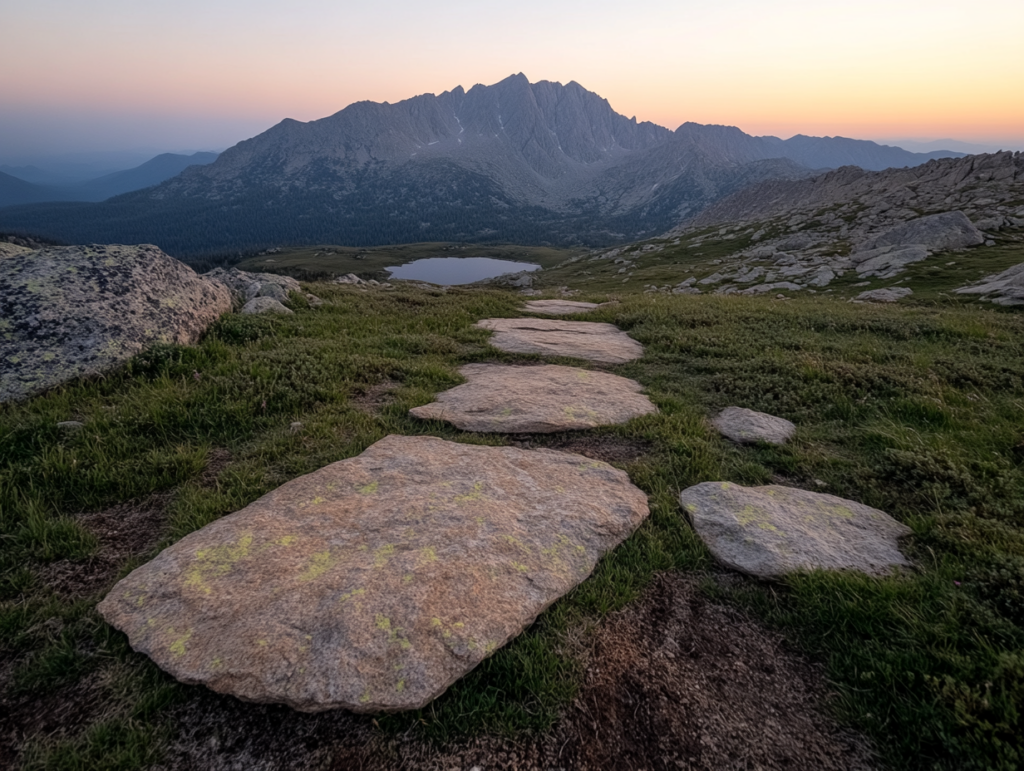
Tone mapping is the process of adjusting contrast in HDR images to bring out details without making the image look unnatural. In Lightroom, adjust the Highlights and Shadows sliders to balance light and dark areas, bringing out details while avoiding over-processing.
2. Adjust Clarity and Dehaze
HDR landscapes benefit from increased clarity and contrast. Use the Clarity slider to enhance midtone contrast, adding depth to textures like rocks and trees. The Dehaze slider can help reduce haze in distant mountains or skies, making them stand out more clearly.
3. Avoid Over-Saturation
It’s easy to go overboard with colors in HDR, but overly saturated images can look unnatural. Start with subtle adjustments to the Saturation and Vibrance sliders, and focus on preserving natural color tones.
4. Fine-Tune Sharpness
After merging, HDR images may need a bit of sharpening to bring out details. In Lightroom, adjust the Detail and Radius sliders carefully to avoid introducing noise.
Common HDR Landscape Mistakes and How to Avoid Them
- Over-Processing: Excessive HDR effects can make images look unrealistic. Aim for a balanced look that enhances details without exaggerating them.
- Misalignment: If you shoot handheld, slight shifts between frames can cause misalignment. Use a tripod and enable auto-align in HDR software if handheld shots are necessary.
- Neglecting Shadows: HDR is meant to balance exposure, but don’t eliminate shadows entirely—they add depth and natural contrast to landscapes.
FAQs
What is the best setting for HDR landscape photography?
For HDR landscapes, use Aperture Priority mode with a low ISO (100-200), an aperture of f/8 or f/11, and exposure bracketing at -2, 0, and +2 EV. These settings help capture a wide range of tones while maintaining sharpness and minimizing noise.
Do I need a tripod for HDR photography?
A tripod is highly recommended for HDR photography to keep the camera stable across multiple exposures. This helps ensure that each frame aligns correctly during the merging process.
Should I shoot in RAW for HDR landscapes?
Yes, shooting in RAW is ideal for HDR landscapes, as it preserves more color data and detail, allowing for more precise adjustments during post-processing.
Can I use in-camera HDR for landscapes?
In-camera HDR can work for quick shots, but it often lacks the control and quality of manually processing HDR images in software. For the best results, capture bracketed exposures and merge them in editing software.
Additional Resources
- Camera Settings Tips – A guide to mastering essential camera settings.
- ISO Noise Reduction Techniques – Tips for managing noise, especially when shooting HDR.
External Resources
- Photography Life: HDR Photography – An in-depth guide to HDR techniques and settings.
- Nikon USA: HDR Photography Explained – Nikon’s official tips for HDR photography.

0 Comments