Iridient Developer RAW converter review
Iridient Developer 3.0 review
Introduction
Iridient Developer 3.0 is an advanced RAW image conversion application for Mac OS X. This RAW developer is known for it’s superior demosaicing of Fujifilm X-TRANS2 files, but offer support for over 500 other cameras, now including the Samsung NX1.
This version is a major update with new features and improvements including new RAW processing algorithms, sharpening methods and noise reduction methods.
I’ve been using their version 3 beta releases for the last few months so I feel pretty confident in doing a full review. I’ll mainly be going over the new functionality of this RAW developer, and especially the latest sharpening methods for Fujifilm XTANS files.
RAW Processing
All RAW images require demosaicing to render them into a viewable format. This process reconstructs a full-color spectrum image from the incomplete color samples registered by your camera’s image sensor. The Iridient manual has some interesting information on this if you’d like to know more, so I’m not going to go into this here. Suffice to say that there are different demosaicing techniques that, depending on your image, will render better output results. And that different sensors, think X-Trans vs. Bayer, require different development techniques.
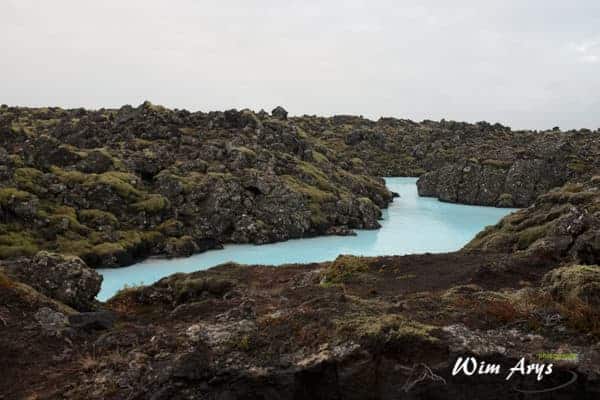
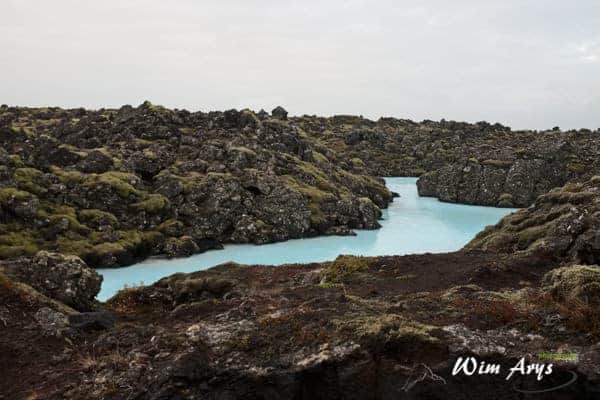
One of the interesting thing about a dedicated RAW developer like this is that it offers different developing techniques for all supported sensors. This variety means you’ll be able to get the most out of your images. Now the results will vary greatly depending on the type of image (portrait, landscape, architecture,…) and are often subtle. I’ve processed the same XTRANS2 file here with the 3 available color demosaicing processes. See if you can spot the difference. If you can, you definitely need to invest in a dedicated RAW developer.
Iridient v3 XTRANS detail (color)

Iridient v3 XTRANS smooth (color)

Iridient v3 XTRANS standard (color)
Iriedient version 3 also has new monochrome specific RAW conversions. in B&W, the difference is more apparent. I’ve chosen 3 different types of images here that are more suited to that particular type of conversion.

Iridient v3 XTRANS B&W smooth
Iridient v3 XTRANS B&W detail
Iridient v3 XTRANS B&W normal
New Sharpening Methods
The latest version of Iridient Developer also brings two new sharpening methods: Iridient Reveal and High Pass. This RAW developer processes your images at 32 bits/channel floating point bit depth, very wide gamut, and perceptual color space to only the lightness or luminance data. This system prevents color shifts, provides superfine gradations and a more realistic color rendition.
Besides Unsharp Mask, High Pass, DoG, and Reveal sharpening techniques, Iridient 3.0 brings two new sharpening methods: Iridient Reveal and High Pass. Reveal combines several sharpening methods including aspects of both traditional edges contrast enhancement and deconvolution.
All these sharpening techniques have their roots in processing actions that photographers have been using for decades. The most basic one is Unsharp Mask. This technique uses multiple layers and can be done in nearly all image editors like Photoshop. It uses a slightly blurred layer of the original image that is subtracted from the original to detect the presence of edges, effectively creating a high-pass filter. Contrast is then selectively increased along these edges using this mask, leaving behind a sharper final image.
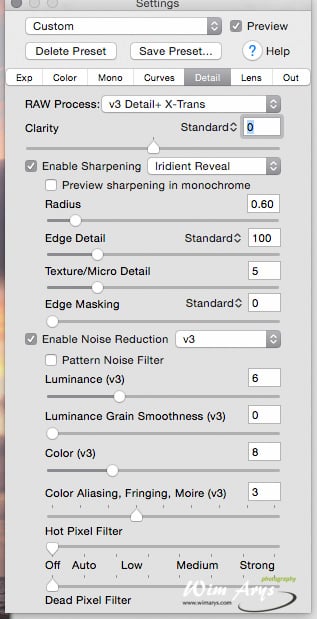
Nearly all of the sharpening techniques use the term radius terms. This slider changes the size of the edges that are enhanced by the sharpening. Although many things can impact the ideal radius setting, in general, the sharper you shot your image the smaller the radius value will need to be.

100% crop without sharpening
If you are using a modern camera sensor with very sharp lenses without AA filter than a general recommendation of between 0.3 and 0.6 for a radius value is a good starting point for the sharpening methods. Low-cost lenses on cameras with AA filters may generally work better in the 0.5 to 0.8 range. If an image has been resized for large print use has focussing issues larger values might be useful.
Let’s have a closer look at the new sharpening methods Iriedient Reveal and High Pass in Iridient Developer v3.0.
Iridient Reveal
Reveal is the current default sharpening option for all RAW images. It combines the best parts of several of the other sharpening techniques into one quick fix sharpener. It uses aspects of deconvolution and traditional edge contrast-enhancing techniques and has a radius value much like many of the other adjustments.

100% crop with Iridient Hybrid sharpening
You can use the Edge Detail slider to adjust the amount of edge contrast enhancement. To the right of the Edge Detail is a right-click popup menu that allows you to choose from several processing variants depending on what type of image you are sharpening. The Texture/Micro Detail slider is used to primarily adjust the deconvolution and other processing of fine detail.
High Pass
High Pass uses the Unsharp Mask method I explained earlier, but it uses advanced compositing methods to blend the sharpened image with the original which can give a more pleasing effect with fewer artifacts. The downside to High Pass is that the layer blending step makes it slower than Unsharp Mask. But I would not recommend using Iridient on a slow computer. I’m running a 2014 iMac with 24GB RAM and everything works blazingly fast.

100% crop with Iridient Low Pass sharpening
The Radius and Amount sliders work just like they do in Unsharp Mask. You can alter the look of the sharpening by varying the blending type. Keep in mind that certain blending methods can be more suited for some subjects than others. Right-clicking the slider opens a popup menu that offers a choice of three different styles Soft, Standard, and Hard. Soft is more suited to portraits and is subtle, hard is more suitable for landscape type scenes and will produce a crisper image.
Exposure options
Iridient Developer version 3 includes several new options for adjusting overall tonality in the Exposure tab. These include an adaptive Fill Light functionality and pixel neighborhood adaptive Highlights and Shadows adjustments.
Fill Light
The Fill Light adjustment is quite similar to increasing or decreasing overall exposure. It allows you to brighten or darken your image in a not a linear way. This method preserves the brightest highlights and darkest shadows better. A good workflow with over- or underexposed images is to slightly adjust overall exposure then use Fill Light slider to optimise the overall brightness.
original image
Many software editors like DXO Optics Pro and Topaz Labs now how a similar function.The Fill Light adjustment is basically a “smart” or adaptive tone curve that will do its best to avoid pushing very dark blacks and very bright whites to clipping while still providing a pleasant overall brightness. Fill Light will do some “compression” of certain tonal ranges to preserve the maximum dynamic range and maintain a pleasing level of mid-tone contrast.

fill light
Adaptive Highlights and Shadows
Shadows adjustment allows you to brighten or darken specific shadow regions of the image with an adapative method that takes into account the pixel’s surrounding neighborhood. It allows you to make adjustments that better preserve contrast without some further tweaking of other sliders.

original X100s image
Highlights adjustment applies the same adaptive method to regions of the image that fall into the highlights tonal range. The only disadvantage of using adaptive highlights and shadows is that it requires a bit more computing time to do.

with neighbourhood adaptive shadow recovery
Improved Clarity and Noise Reduction adjustments
original image
Clarity
You’ll probably be familiar with Clarity, as you’ll find it in most Current Image Editors. This slider enhances mid-tone contrast and reduces haze. Right-clicking the Clarity slider gives you a few options for targeting different styles like crispy landscape or softer portraits.
with Iridient clarity
Noise Reduction
You won’t be able to clean-up heavy grain and artifacts caused by high ISO values here. Noise reduction is mainly implemented to counter any possible added noise by the sharpening processes. The noise reduction methods in Iridient Developer 3.0 have been updated to provide better results when combined with some of the new sharpening methods. High-level color smearing has been reduced and you’ll find overall better color noise reduction than the previous methods. A new Luminance Grain Smoothness gives better retention of image sharpness while still keeping apparent noise levels under control.
Monochrome Conversions
It’s best to do Black and White or Monochrome conversions at the RAW stage. Iridient is very adept at this, with many conversion methods already available in the earlier versions. This latest update adds new monochrome mixer conversion methods for a total of nine, that can radically reduce noise and provide even better image detail.There are now several options, including direct access to low-level RAW linear data, for color managed mixing styles.

original image
Two new monochrome toning methods are Split Toning and Mono Tone. You’ll also find new presets for toning styles like Sepia, Cyanotype, and Platinum.
split tone
mono tone
The Mono tab panel of the Settings window contains controls to convert images to monochrome. Iridient Developer offers nine different options for making the conversion which are described below. Note that after Iridient Developer performs the monochrome conversion images still remain RGB which allows for color tone effects to be applied.
Export options
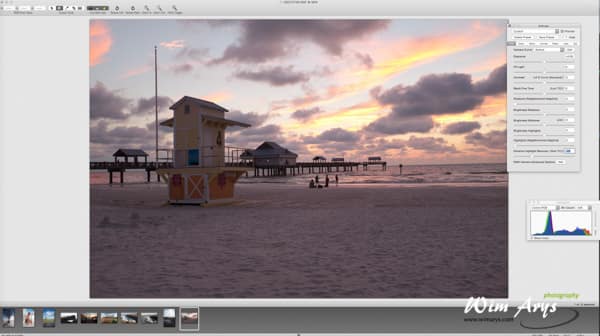
I have up to now used Iridient from Lightroom with the method described here. It fits with my workflow and allows me to get the results I want. But if you are the type of photographer who does not want to add any extra processing, Iriedient Developer 3.0 has advanced file export options. These include improved preview window approximation of the Detail processing stages, significant improvement to earlier processing methods and simplified colour management tools.
Camera support
This final release also adds support for RAW images from the Olympus E-M5 Mark II shot in 40 megapixel high-resolution mode and the Samsung NX1. Besides these interesting newcomers, Iridient supports over 500 camera models. Have a look at their website to see if yours is supported.
Conclusion
Iridient Developer 3 is without a doubt one of the most powerful RAW developers currently available. It has a plethora of functions and features that will appeal to both the amateur and novice photographer. The sharpening techniques possible are amongst the most versatile you’ll find in any Image editing suite. Version 3 brings all this power and flexibility in an even more easily usable interface, allowing the less experienced photographer to easily improve their imagery.
The Sharpening techniques available are fantastic, not just for Fujifilm X-Trans files, but also with my Samsung NX1 and Sony A7r RAW data. Switch over to 100% magnification and run through all processes available to find the one most suited to your image. Then tweak to get the right style and you’ll be amazed at the results.
Version 3 brings all this power and flexibility in an even more easily usable interface, allowing the less experienced photographer to easily improve their imagery. You can go as deep as you want here, editing and tweaking even minute data captured from your sensor, but it strikes me that Iriident is also excellent at everyday processing tasks. The 2 options for white balance for instance almost always give me a clean and realistic colour rendering, far superior to what my cameras can achieve. This image editor has become my go-to application for my entire photo library. When used with the appropriate settings for that type of imagery, it always enhances them. It’s fair to say I couldn’t live without Iridient Developer anymore.

Hi Wim, thanks for the great overview of Iridient Developer and explanation of some of its features. Just now I am trying it and expect I’ll buy it in a couple of days. I’m moving from Aperture, but as I have a Fuji system and a dislike of Adobe complexity, I plan to use Lightroom just to catalog my photos and as a viewer.
I’ll be using Iridient for RAW processing. It’s certainly impressive and the results with Fuji cameras are very pleasing in how it recreates the film colours. For local adjustments, I’ll continue to use Nik Collection as I did with Aperture.
I was especially interested in your discussion of the different sharpening approaches, and was wondering if they should be applied after making other adjustments, such as with any local adjustments with Nik Color Efex. That would then mean I have to process the image twice in Iridient, but just now I have to do a seperate step for sharpening with Nik so it’s not a big difference.
I just wondered, since you seem to understand the issues in detail, if you think the sharpening is best done last.
Thanks again for your helpful conments and a great article.
Hi Richard, in my experience, it’s best to do sharpening in Iridient at the RAW stage. Also do your exposure compensation, blacks/whites, shadows/highlights adjustments and white balance within Iridient. You’ll find yourself with very sharp TIFF files, if you need to do anything more, use Nik Color Efex as a last stage. It’s not useful to go back to Iridient after that, as you’re no longer working with the RAW file.
Thanks for that, Wim. Very helpful and makes good sense.
Happy to help. You’ll need to take some time to get used to the different sharpening methods and how much to apply. So I’d suggest getting your best RAW images ready and do some tests first.