Lensball photography tutorial
Introduction
Let’s first start with explaining what lensball photography actually is. You can see a lensball as a high-quality and completely transparent solid glass ball or sphere made of streak-free crystal glass and it’s which is ideally suited as a photography accessory for special effects.
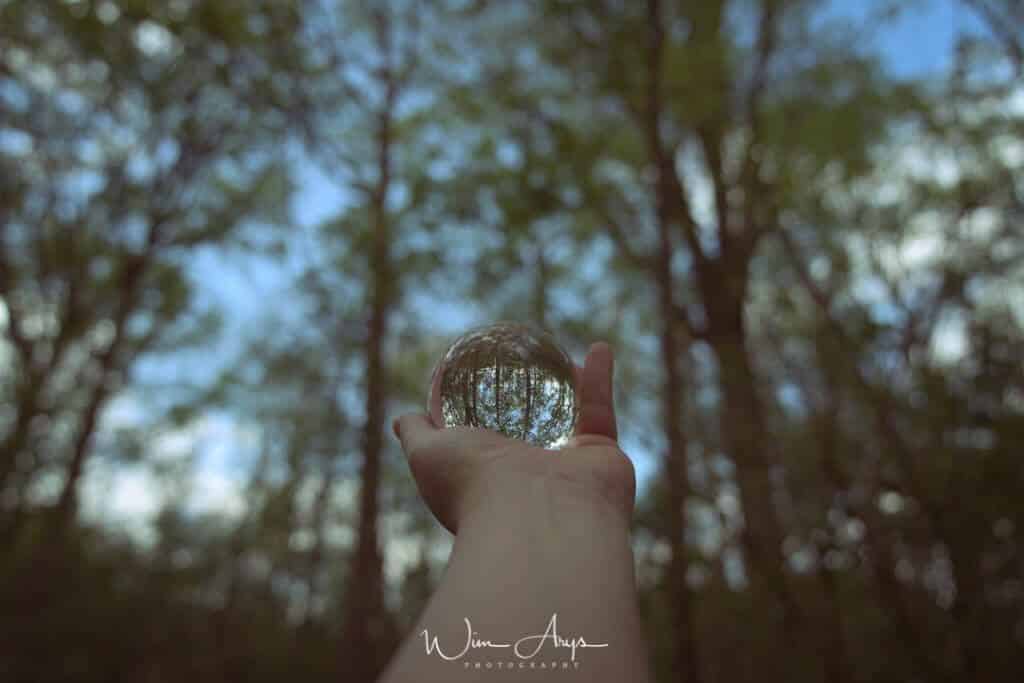
It’s most often made from a material called K9 glass, which has a denser mass than normal glass, turning the ball into a type of lens on each side of the sphere. This creates the most striking feature of a lensball: it turns the image reflected through it upside down
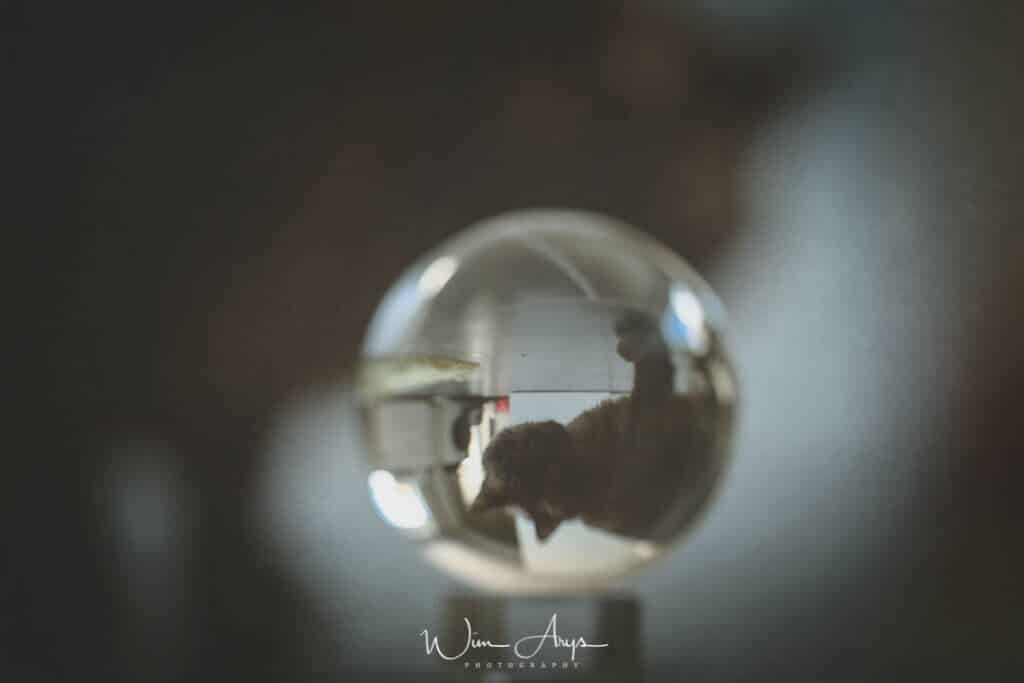
Both professionals and amateur photographers use it and it works with your DSLR, mirrorless camera or even with a smartphone. You can use autofocus but also manual focus will work, and you can shoot in any camera mode imaginable like full manual. It’s the ideal photography accessory for creative photography
Different lensball sizes and quality
When you first get into the field of glassball photography, you’ll notice that there are different sizes. These range from 60 cm up to 90 cm, but you can now find even larger ones. The basic rule is that the smaller your camera, lens and camera sensor is, the smaller the ball you’ll need. If you’re trying out lensball photography with your smartphone, a 60mm lens ball will suffice. If on the other hand you are using a DSLR or mirrorless camera with a big full frame sensor and larger lenses, it’s best to get a larger 90cm lensball.
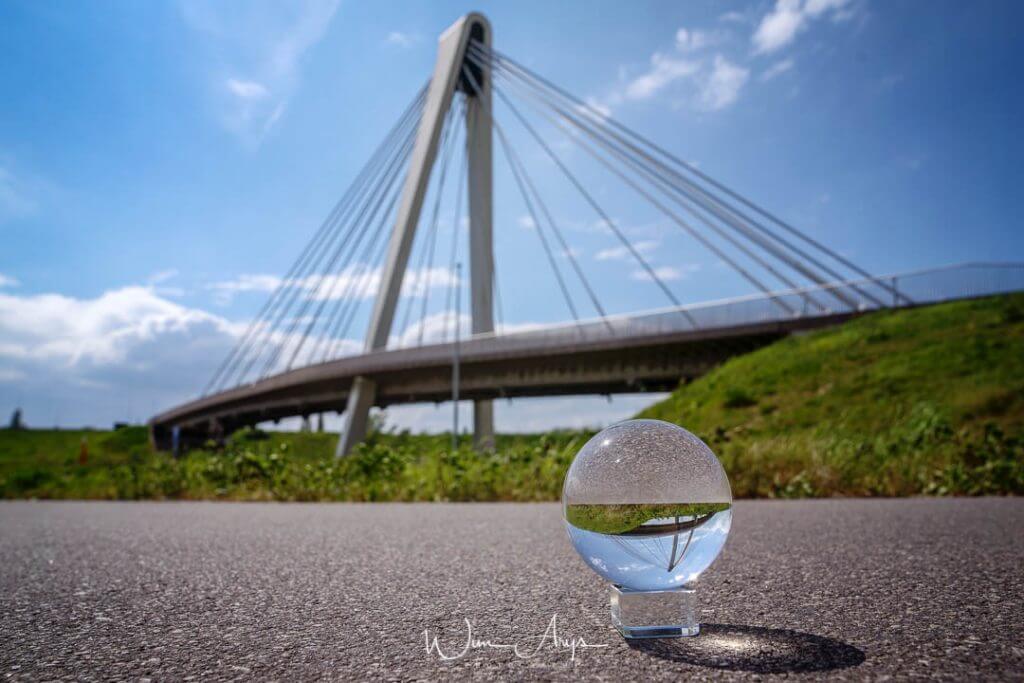
These lensball weigh between 0,5 and even up to 2 Pounds, so generally speaking, you can carry these glass spheres conveniently in every bag or photo backpack. If you’re a professional photographer, even the biggest lensball weigh no more than a zoom lens, so you can still take itwith you on trips and photo tours. A handy tip I can give you is to always carry a microfibre cloth to clean and remove fingerprints and dirt before every shoot, I even have microfibre gloves to totally avoid any nasty fingerprints which might ruin a good shot.
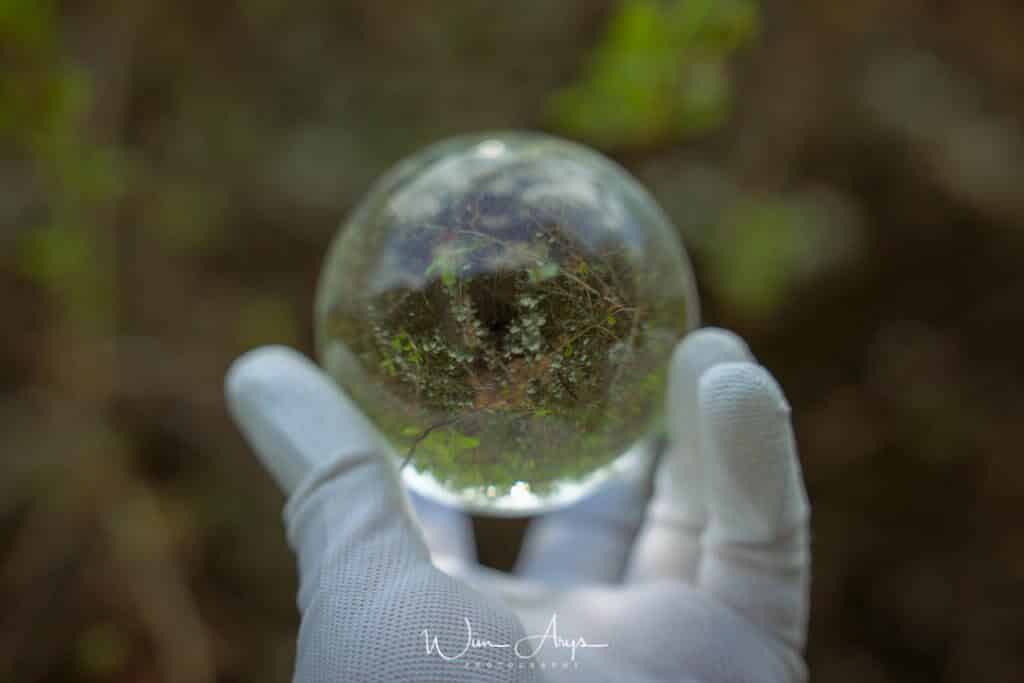
You should also take care to go for high-quality processed and polished crystal glass that has no air bubbles so that you’ll get crystal clear and sharp pictures.
Is lensball photography for you?
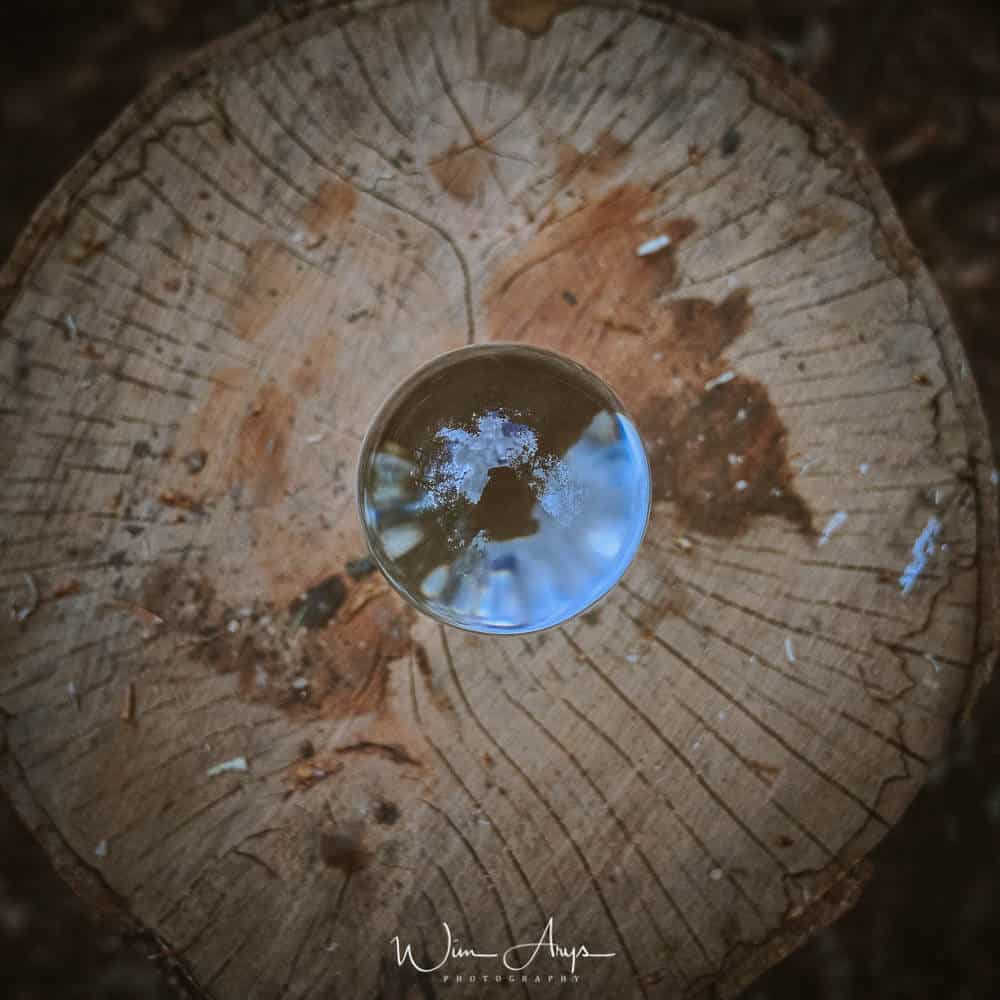
Lensbal photography with a dedicated camera
The effect of lensball photography allows for many surreal and imaginative images. The most beautiful images are made when the reflected and inverted image through the ball is perfectly in focus, while the rest of the image is blurred.
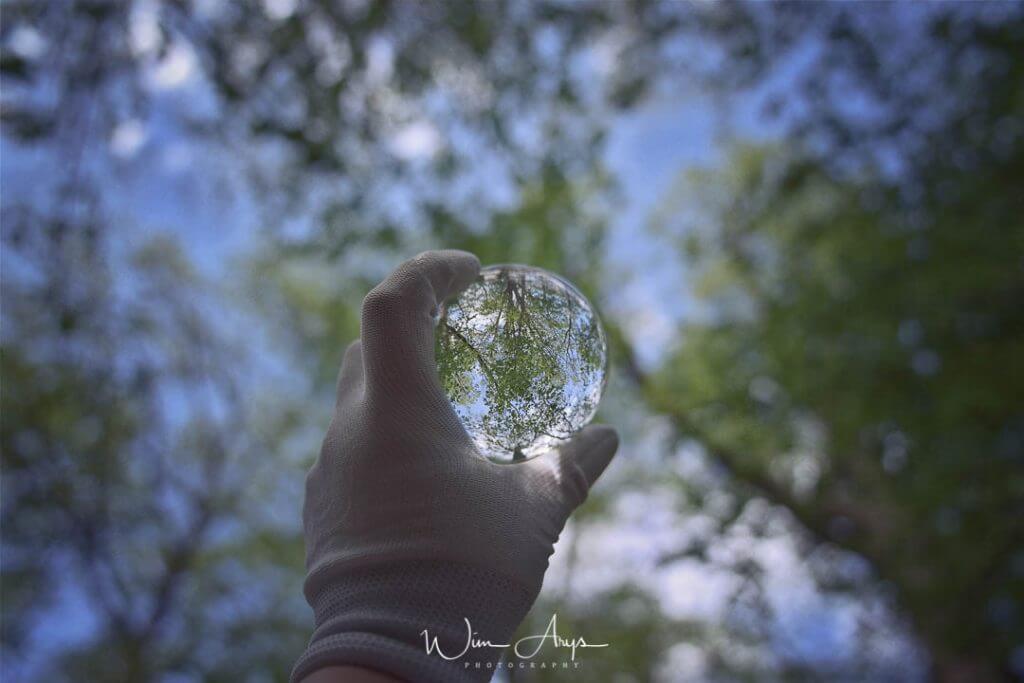
This effect can be achieved when using a fast aperture lens, at least an f/2.8 lens. Just turn your camera too what is called aperture priority mode and set aperture lens to the largest opening (in this case f/2.8). Using a tele zoom lens at setting it to the tele end (for instance 200mm on a 70-200mm lens) will also get you the added benefit of a photography effect called image compression, which makes the out-of-focus part of your image even creamier. You might want to get your tripod out when using a tele zoom as the slightest movement will change your composition at this focal length.
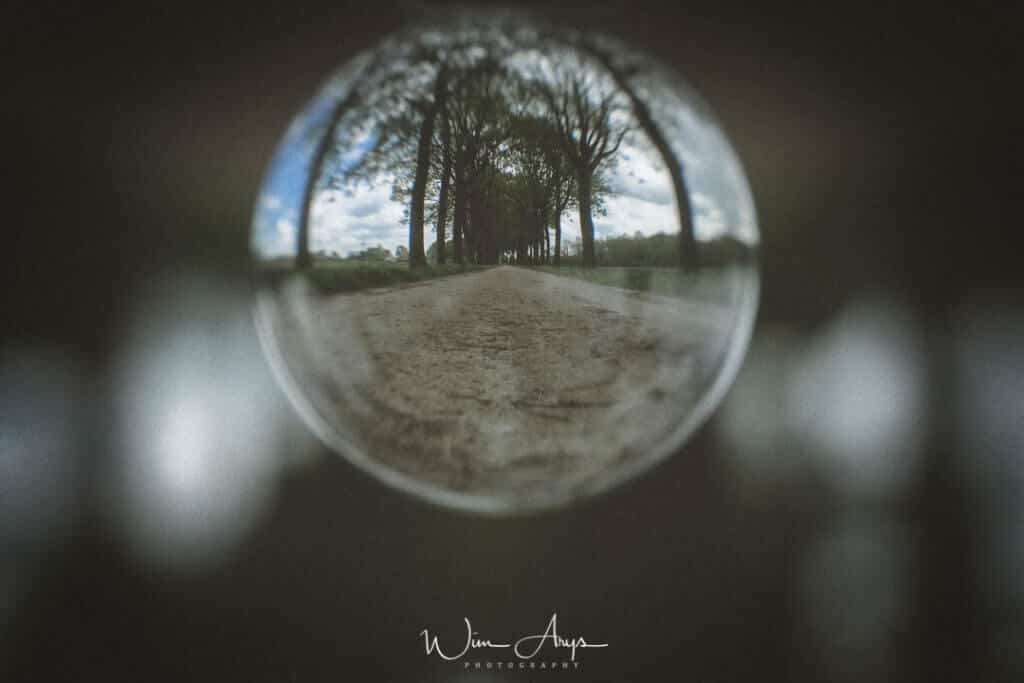
You can always flip your image if you wat to have the reflected image appear the right side up.
When your lens is set to a large aperture, you’ll need to take care to focus correctly. With a shallow depth-of-field, your focus point is very important as the in-focus area is shallow. This is aggravated by the fact that the ball is round, so you’ll need to focus on the centre of the ball. In order to achieve this, it’s best to set your camera to something like a one point focus (differs per camera brand) and then move the focus point to the centre of the ball in your composition. Always take a few shots just to be sure.
Lensball photography with a Smartphone
If you’re not a professional photographer and you’re using your smartphone, don’t worry, you can get some cool lensball photography shots straight from your phone camera too. The key is always to go for a good composition and a unique perspective, more than merely relying on complicated techniques. Focus won’t be that important with a smartphone camera since even an f/1.8 aperture lens here equates to around an f/16 aperture on a full frame camera. This means that the portion of your shot that is in-focus will be a lot larger, albeit at the expense of the softness of the out of focus area.
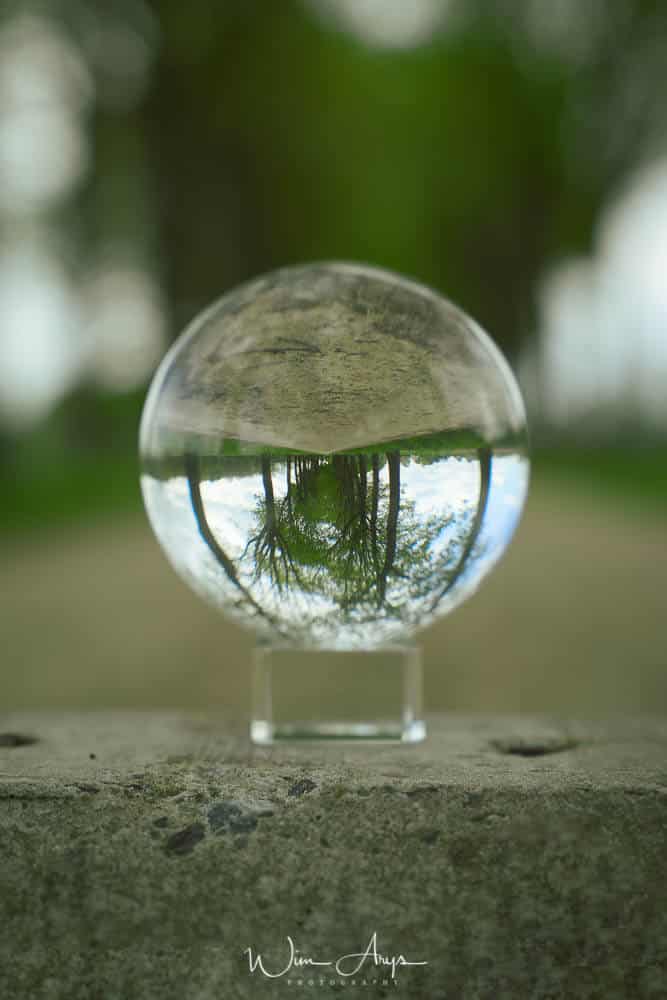
If however you own one of the latest iPhones or a more expensive Android smartphones that support something called depth maps, it’s also possible to create (more) of this blurred background effect using an app that supports this like Focos for iPhone . Apps for Android phones differ per manufacturer as many have different technologies behind their depth map system.
Some general tips and warnings for lensball photography
- Make sure to always clean your lensbal before a new shoot.You don’t want any greasy fingerprints or dust on the surface as this will impact the sharpness and clarity of your photos. It’s always best to keep your lensball in it’s original case or packaging in order to prevent accidents and damage to the glass ball. This is best done with a microfibre cloth which is used to clean lenses too. I have a pair of microfibre gloves that came with my lensbal which are great for handling as well as cleaning the lensball.
- Once you’ve found a great spot to use your lensball, you’ll need to use a type of stand in order to prevent it from rolling or moving (as well as damage to the ball itself). My lensball came with a small stand that I always use, but a bottle cap is also an option in a pinch. a roll of adhesive tape or a small rubber ring (like for plumbing) can also be a good idea if you want something that won’t show up in your pictures.You’ll also need a flat surface. You’ll be safe on sand or in the grass as it’s unlikely that your lensball will roll away on those surfaces. If you want to be extra safe, you can always sprinkle some salt on any surface in order to get some more grip.
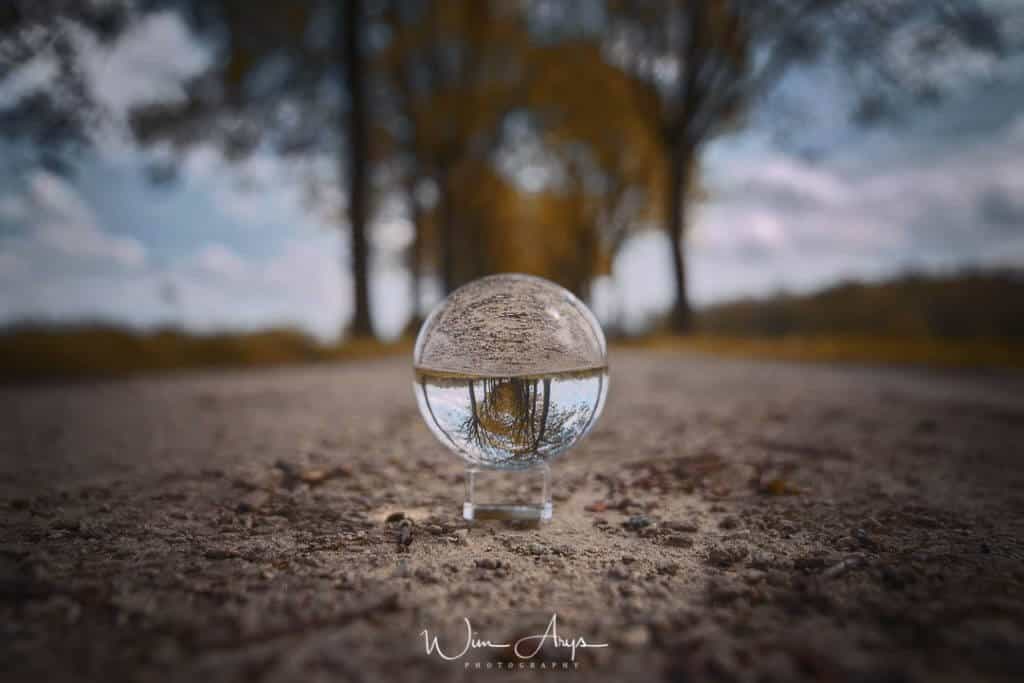
- You can use any lens you want with this magical photography tool, depending on what type of photo you’re after. If you want to get a lot of surroundings alongside the photography lensball, go for a wide angle lens like a 24mm. I would not go wider than that since you’ll get too much volume distortion towards the edges of the frame, making the lensball appear elongated. If you want to focus more on the lensball itself and not the surroundings, go for a more tele lens like a 85mm or even go extreme with a 200mm! As I mentioned before, it’s a great idea to have a large aperture lens in order to get a smooth and blurred background effect. It also helps to get a lens with a quite close minimum focussing distance of at least below 30 cm so that the lensball can be large enough in your images to be noticed.
- I have my camera on aperture mode for this creative photography technique, so that I can switch between f/2.8 and perhaps a larger aperture like f/4 when I move closer to the ball. I mostly use a 24-70mm zoom by the way, as this allows me to switch between a wide field of view and a more narrow ‘lensball only’ view when I want. A shutter speed of between 1/250 and 1/125 is recommended when shooting handheld in order to get tack sharp images without camera shake. For longer exposures, like when taking pictures at night or at dusk, a tripod is strongly recommended. You could also try to use ND filters to make long exposures near bodies of water or waterfalls and have that reflected in the lensball too. The possibilities are endless!
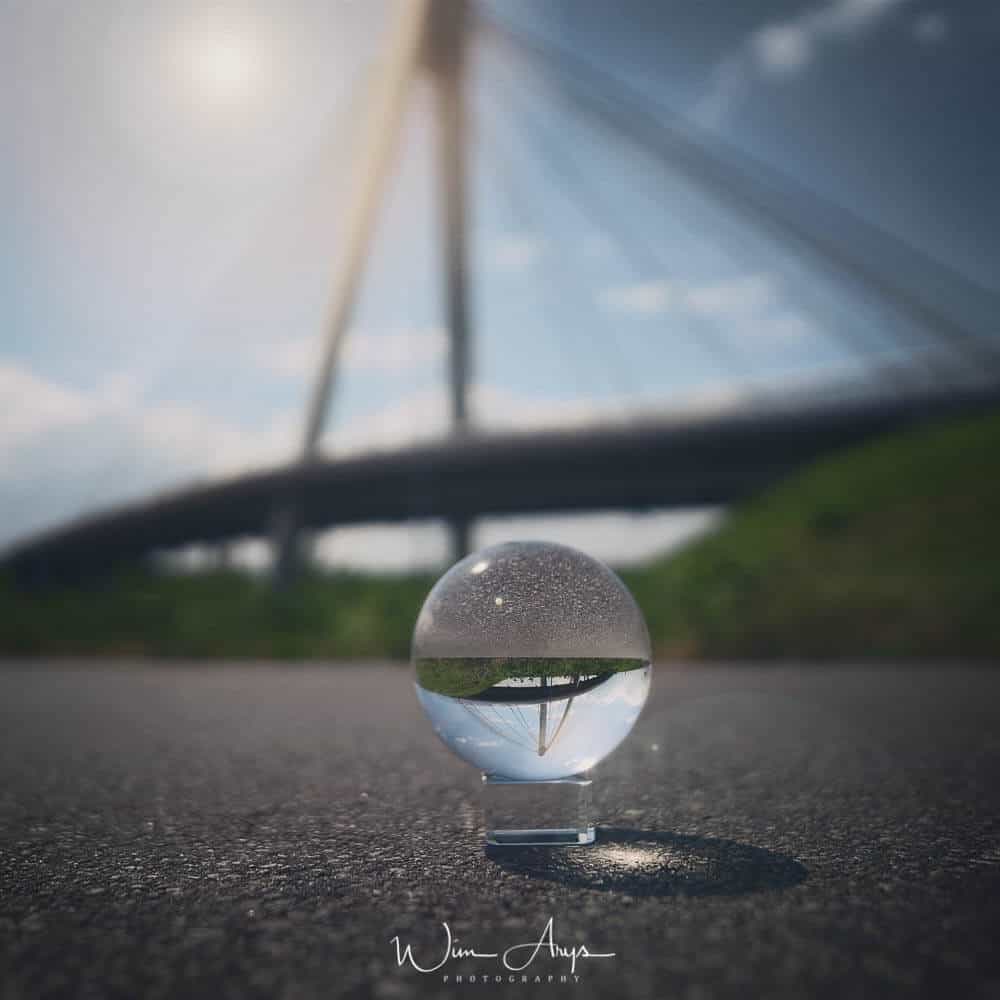
- Beware when doing what is called freehand glass ball Photography (walking around with the lensball in hand): the balls are not only relatively heavy, but also slippery. If you focus too much on the camera, you run the risk of dropping and breaking it.
- Remember that a lensball is really a kind of magnifying glass. It works in the same way when a lensball is placed in direct sunlight that it focusses the rays of the sun and can actually start a fire. So be very careful when using it.
Conclusion
Whether you’re an amateur or advanced photographer, with a smartphone or a DSLR, Crystal ball reflection photography is a fun and creative tool for anyone interested in making unique and eye-catching images. You can use it with all kinds of light sources in landscape photography, cityscape, in a photo studio with water and even for portraiture of people.

The right size of K9 Crystal photography ball will depend on the size of your camera. In general the bigger the camera, the bigger ball needed. Besides this you’ll need a fast aperture (at least) f/2.8 lens if you want to be able to get a blurry background that stands out against the in-focus inverted projection of the lensball.A K9 Crystal Photography Ball is an ideal photography accessory for all skill levels of photography that can produce dreamlike images with a moderate tele or wide angle lens.
Questions
What are the benefits of using a lensball?
Lensballs will make your photos more remarkable, and is always a crowd favourite. Whether you’re a pro-photographer or just enjoy taking photos for fun, a lensball will make you more creative in composing shots and adding elements. A lensball will make any photo more unique and interesting.
How do you use a lensball?
Lensballs are cool! You can use them to take awesome pictures. Hold up the ball in front and shoot through it. That’s how you get started.Lensballs are great for taking pictures of nature. You can use them to capture amazing scenery or even take photos of simple objects. Try using lensballs to take awesome photos!
How to take a great photo using your lensball?
Lensballs are very unique objects.
- Refraction photography requires getting the right position. You need to get the right distance between the lensball, and the object you want to shoot. This means you should use a tripod or something similar.
- Make sure that there is enough light around the object you want to photograph.
- A crisper and more defined picture means that you need to be closer to the ball than before.
- You also need to hold the lensball very carefully as you take the picture. (Your hands might appear in the image.)
- Use a tripod to avoid capturing your hands or anything else in your photo.
- Hold the lensball higher than the object and shoot from below.
- Lensballs are great for taking photos because you don’t need a tripod.
- You can use them anywhere and anytime.Depth of field refers to how much of the foreground and background is in focus.
- A shallow depth of field means more of the scene is sharp while a deep depth of field means less of the scene is sharp. To achieve a shallow depth of field, use a wide-angle lens and zoom in close. F
- or a deep depth of field, use telephoto lenses and zoom out far away.
- Lensballs are cool things that help people see better.
- Cropping helps bring out more of what you want to show.
- Selective desaturation makes the lensball pop out of the picture.
- The subject should be well-lit.
- Lighting is key when taking photos with lenses.
- The subject should be in focus.
- The background should be blurred.
- Lensballs are very unique objects. We love them because they’re spherical and shiny.
- Hold the bottom of the ball, not the drawstrings or top of the bag, and make sure the bag is supporting the lensball.U
- Don’t leave your lensball in direct sunlight.
- When you’re done using the lensball, store it in an airtight container.
- Store it away from heat and light.Lens ball photography is a new type of photography, but it’s very easy to learn.
What is a Lensball and How does it Work?
A Lensball or K9 Crystal Photography Ball is basically a transparent glass sphere that photographers use to take pictures. Inside the sphere, the camera sees the world upside down. This magical photography tool makes the picture appear as if it were taken through a fish-eye lens. Lensballs come in different sizes.
The smaller ones cost less money, but you get fewer shots per ball. Larger balls give more shots per dollar spent.Refraction photography is used by photographers who want to create images that look like they were taken inside a crystal ball. They use lenses with convex glass (or plastic), so the camera sees the image upside-down and reflected through the convex glass.

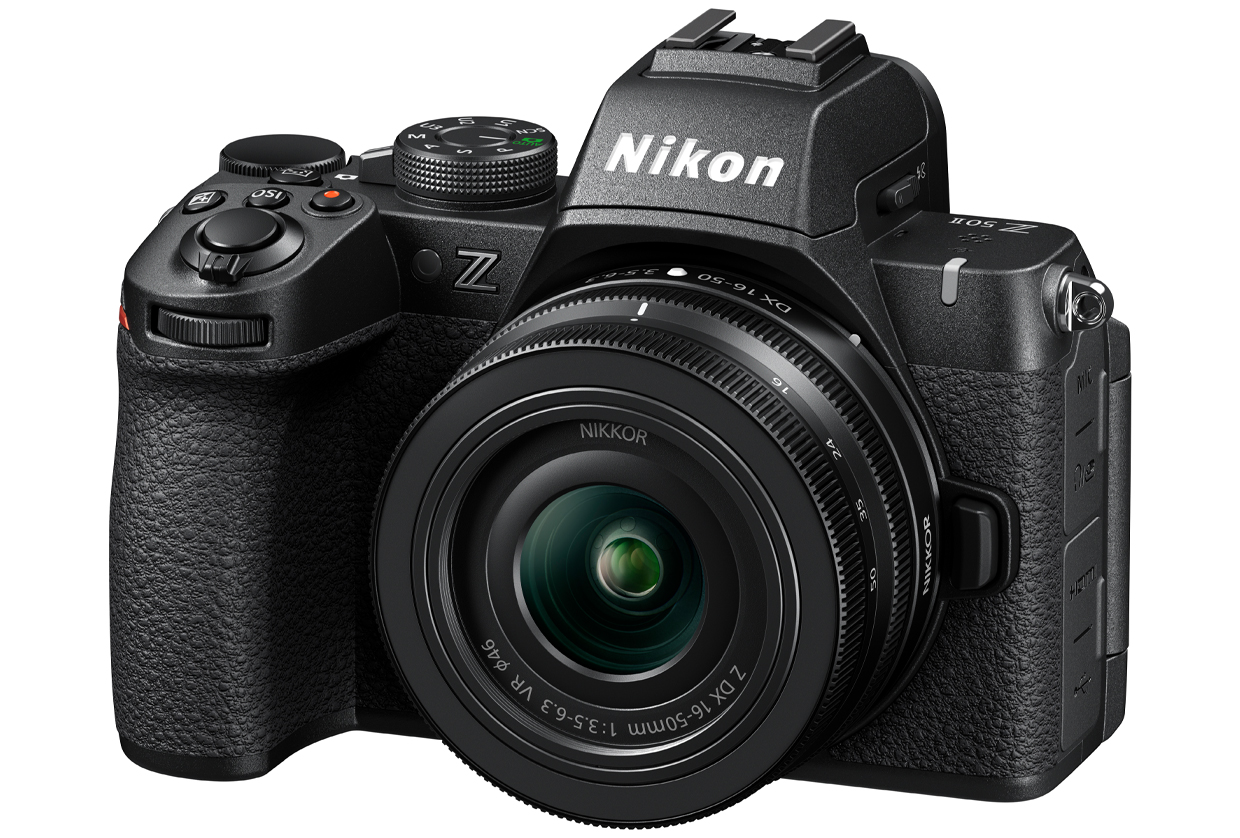

As a beginner…..thank you! ( I got one for Father’s Day) I was worried because the lensball was in focus or the background was and the lens ball not……got a bit paranoid, playing with AP and manual. Now I have seen your examples I can concentrate on composition!! (which is what I suspect I should have done in the first place!)