Sony A9 review: a step backward to move forward
Introduction
Sony keeps pushing the envelope with their full-frame mirrorless ILCE system. Where other manufacturers seem content with basically upgrading the sensor and a few minor cosmetic changes, Sony seems to be able to pull a totally new sensor with unique capabilities out of their hat with each new generation. The latest iteration is the Sony A9, mainly a sports and fast action camera that few people would have believed possible just a few years ago.
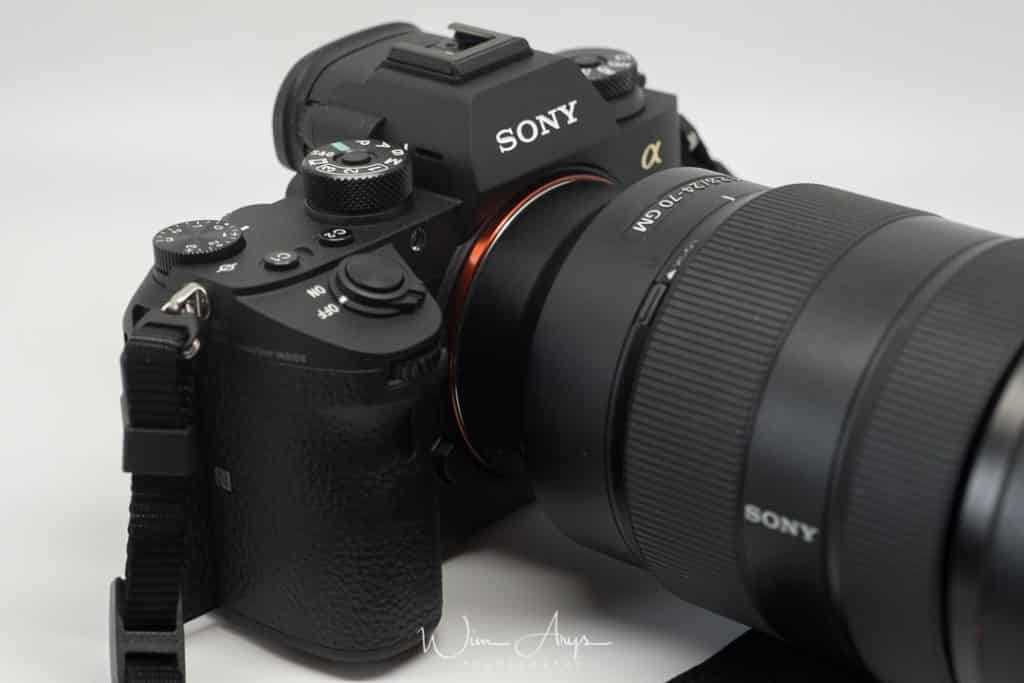
The specs do look like a dream come true for any mirrorless shooter really, here are the highlights:
- BIONZ X Image Processor & Front-End LSI
- 693-Point AF System & 20 fps Shooting (JPEG + RAW compressed)
- Blackout-Free Quad-VGA 3.7m-Dot OLED EVF
- 5-Axis SteadyShot INSIDE Stabilization
- ISO 204,800, Silent Electronic Shutter
- Dual SD Slots
- Integrated LAN and PC Sync Terminals
- larger capacity battery
Build and Weather proofing
Like the A7 series, the A9 has a sturdy magnesium alloy body, but this material now also extends to the grip. Sony again claims that it is resistant to dust and moisture, though probably not more so than previous models. There are no extra rubber gaskets visible near doors or mount, so I would be very careful if you want to use it in bad weather conditions. The screen will also need a screen protector if you want to avoid scratches and signs of wear and tear.
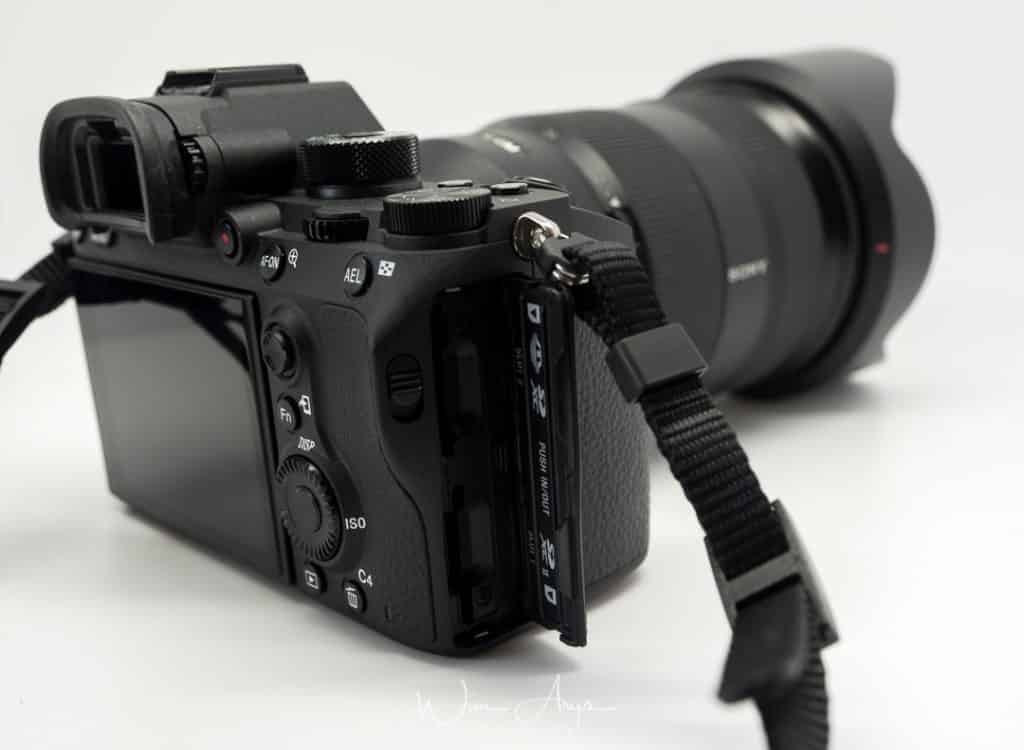
There is now an open/close slider for the SD card slot, and the build overall looks better than the ILCE-7rm2. The lens mount also has two extra screws added, I can count six now, probably because Sony figures that a sports camera will use larger and heavier lenses. The result is that there is no more lens wobble, a phenomenon that plagued the A7 series, and I am sure was not beneficial to image quality overall.
Ergonomics
At first glance, the A9 looks like its brothers but there are significant changes to the body. It’s a bit larger with a bigger grip to accommodate the larger battery and a bit heavier too. the ILCE series has become gradually heavier with every generation, and you’ll definitely notice the difference, even coming from an A7rii.
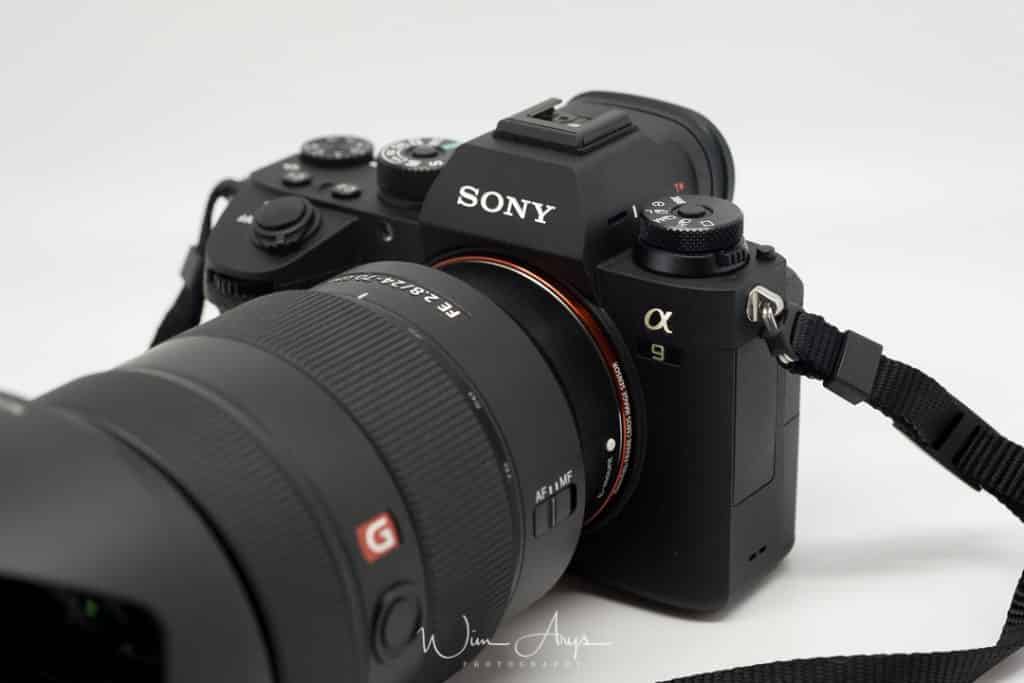
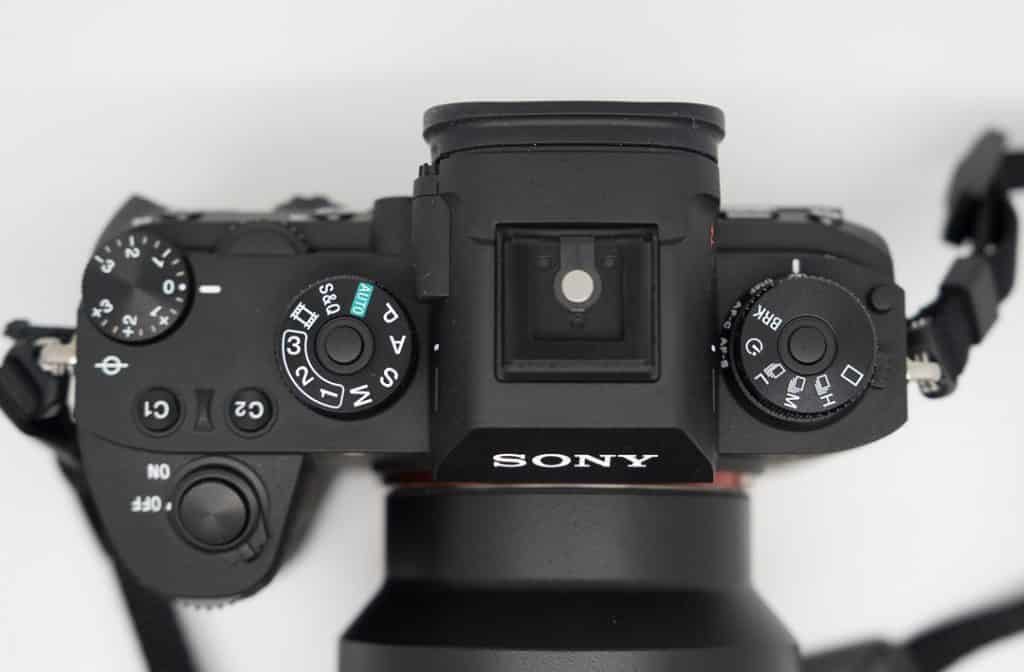
The most noteworthy changes are on top of the unit, where you’ll now find a second dial on the left side of the EVF. It can be unlocked using the top button and allows you to easily change shooting mode from single to either continuous high, -medium, -low, self-timer or bracketing. The bottom part of this dial enables you to quickly change the focusing mode from AF-S to AF-C, DMF or MF. This too has to be unlocked using a button on the left side.
The top right dial still allows you to change exposure mode like earlier models, with the addition of a slow motion S&Q video option and now 3 customizable modes so you can quickly switch to your favorite settings for different shooting scenarios. Even though all the other dials need to be unlocked before they can be changed, the exposure compensation dial still does not. A pity, because it’s really the easiest dial that can be changed accidentally.
There are also two customizable C1 / C2 buttons. I would advise using one of these to easily change the shutter from electronic to mechanical. The biggest surprise is the addition of a joystick, that can be used for both navigating the menu system and to move AF points when you’re in an appropriate Focus Area setting.
The video button was awkwardly placed near your right hand in previous models and has now been moved to a less-prone-to-accidental-engaging place next to the EVF. You’ll also find a new customizable C3 button on the backplate that is factory default set to shutter type (Auto/mechanical or electronic).
Electronic Viewfinder and Touchscreen
Both EVF and screen have received upgrades, and the latter now has a sort of touch screen functionality. Calling it a full blown touchscreen is a bit of a stretch, but it can be used to change focus point (although it’s turned off out of the box) and magnify your image for to check focus by using 2 fingers like a smartphone.
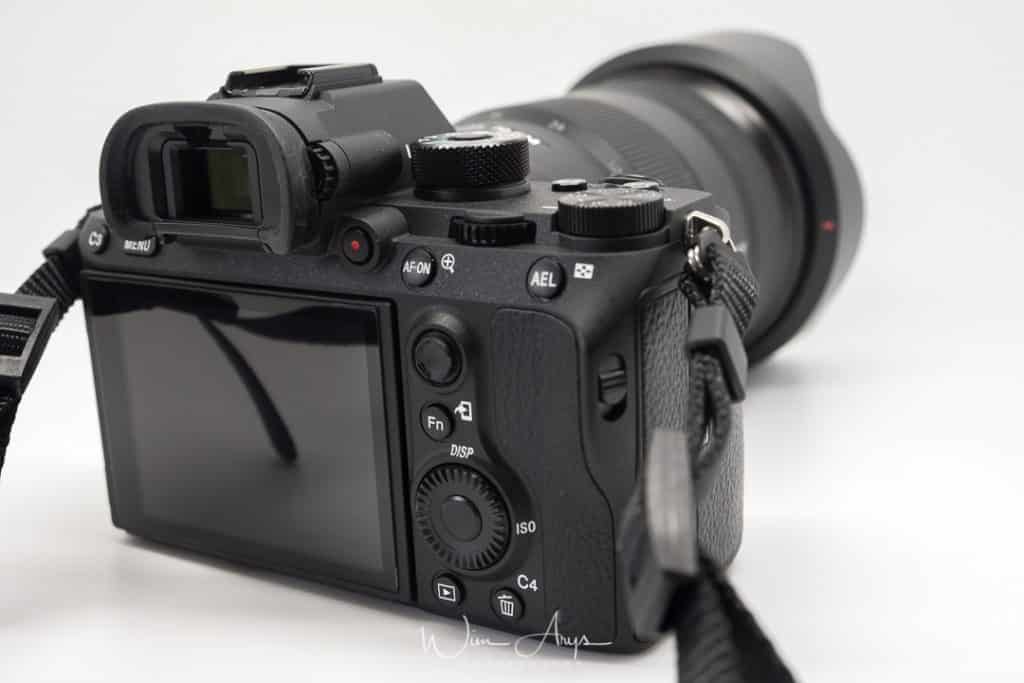
The screen can hinge downward 45° and upward 90°, and tilting it now deactivates the EVF sensor. A new feature that will sound good to all A7x users who have to live with accidentally engaging the EVF when their hand or the screen comes to close to the sensor.
The electronic viewfinder now has a resolution of 1,280 x 960 px where the ILCE-7RM2 had 1,024 x 768 px. The refresh rate is at 120fps if you turn live view off, if you leave it on, it halves to 60fps. The magnification is still of 0.78x allowing for a clear view of the scene with no blackout frames if you use the electronic shutter.
Battery, SD slots, and connectivity
The Sony A9 has two slots, one in UHS-II format, the other conforming to the old UHS-I standard. A pity and this makes the dual slot feature somewhat obsolete for me. You can select if you want to use the second slot as a backup for the first, if you want to save RAW and Jpeg to separate cards, or photo/video to separate cards.
The Sony ILCE-9 now also has an Ethernet and flash sync socket. The Ethernet connectivity will mainly appeal to pro sports shooters and journalist who use Ethernet to quickly transfer images to company data servers, and the flash sync socket might be useful for studio photographers with older setups. The HDMI out and Micro USB input are still available too as well as a stereo mic input and headphone output.
WiFI and Bluetooth are also available, and you can use WiFi to remotely control the camera with the PlayMemories app on your smartphone. Strangely, the in-camera apps feature is no longer here. Bluetooth can be used to geotag images via smartphone connection instead of the old GPS inside functionality.

The new NP-FZ10016.4 Wh battery of 16.4 Wh is now capable of between 400 and 600 shots, quite an improvement on the older batteries on paper. And in real-life shooting, you can often get even more shutter actions out of it. The new VG-C3EM, grip hold 2 batteries if you need more than that. In case you’re wondering (you never know with Sony), the box includes a separate charger that now has a LED charging indicator too.
Five Axis Stabilized Sensor
Like the A7x II series, the A9 has a 5-axis stabilized sensor, which works with all lenses. The sensor is mounted on an electromagnetic system capable of countering movement on both X (left / right) and Y (up / down), as well as angular movements of pitch ( Pitch ), yaw ( Yaw ) and roll ( Roll ). The roll phenomenon can not be corrected by optical stabilization, which only works on 4 axes. Sony claims that the 5 Axes stabilization features have also improved from older models. You’ll easily have between 2 and 3 stops advantage with this system for lenses up to 70mm.

Autofocus and Burst rate
Startup time on the A9 is now a respectable 0.6 seconds, in line with what you’d expect from a ‘pro’ camera.There are also plenty of autofocus enhancements. Thanks to the RAM on the back of the sensor, this camera can autofocus blazingly fast even in low light with a rating of -3EV with a f/2 lens. When shooting indoors, I prefer using an even faster prime lens for decent AF performance though.

the fast 20fps burst rate is only available if you shoot JPEG and RAW compressed and while using the electronic shutter. With the mechanical shutter, you’re down to 5fps (like the ILCE7RM2) but thanks to the LSI buffer, at least you’ll be able to shoot until infinity without waiting for the camera to write to the SD card.

The autofocus uses 693 on-sensor PDAF points covering a massive 93% of the sensor as well as 25 contrast detection points. Sony’s 4D focus works amazingly well, but unless you’re used to all the different focus modes and particular uses for each mode, there is quite a learning curve. For instance, sports action where you are tracking individual works best with lock-on AF (you need to be in AF-C to use it), face recognition overrides all other settings, Eye-AF is useful for portraits, pressing the joystick will revert to center AF in any shooting mode and so on. And then there’s the matter of assigning your preferred settings to customizable buttons, so you’ll need lots of practice coming from another system or even an older A7.

ISO performance
This is where it gets a bit difficult. The Sony A9 sensor has not only been tweaked for sports performance, it has been built for it. Fast action requires fast shutter speeds and hence higher ISO levels, so the Sony engineers have customized the sensor to perform better at high ISO with less noise. By high ISO, I mean anything around ISO6400 by the way. This customization for better performance at high ISO comes at the expense of dynamic range and higher noise levels at lower ISO.
In order to get a clear understanding of what I’m doing here, we’ll be looking at around 100% crop (upper left corner) of this image:
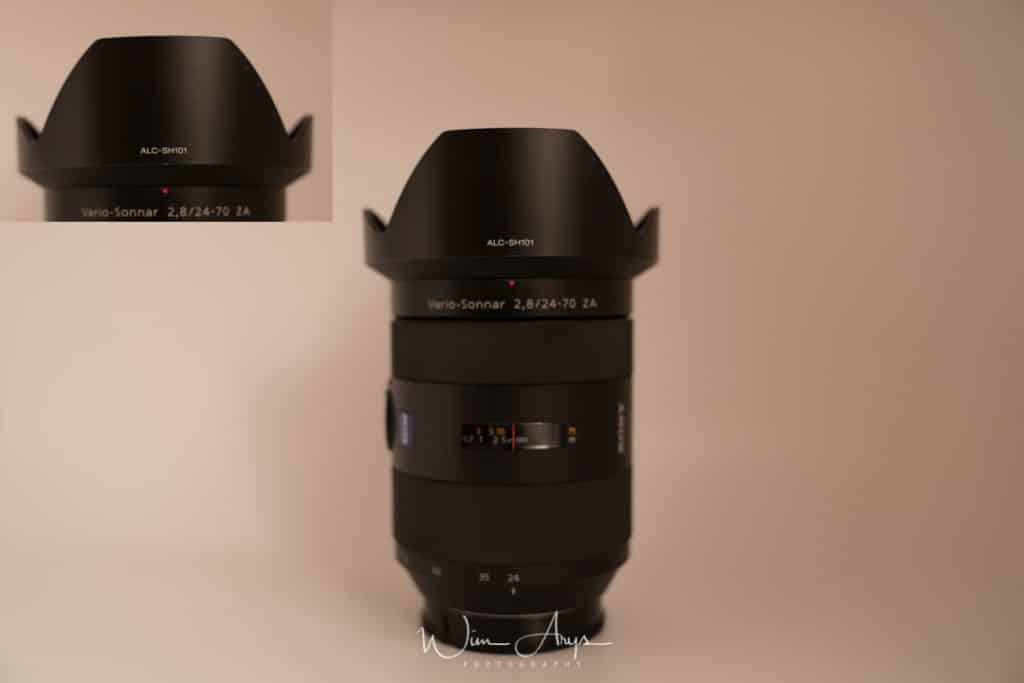
This to actually be able to see the amount of noise clearly without having to zoom in on every shot yourself. I’ve also added two galleries, one with direct lighting and another with indirect, ambient lighting. Yes, white balance is different but that has no bearing on this particular test. This to see what the impact of light on noise is. There is no difference in ISO performance when using either mechenical or electronic shutter by the way. Because I was using TL lights for this test, I did set it to mechanical to avoid banding.
Direct lighting:
- ISO 100 direct lighting
- ISO 200 direct lighting
- ISO 400 direct lighting
- ISO 800 direct lighting
- ISO 1600 direct lighting
- ISO 3200 direct lighting
- ISO 6400 direct lighting
- ISO 12800 direct lighting
- ISO 25600 direct lighting
- ISO 51200 direct lighting
- ISO 102400 direct lighting
- ISO 204800 direct lighting
Ambient lighting:
- ISO 100 ambient lighting
- ISO 200 ambient lighting
- ISO 400 ambient lighting
- ISO 800 ambient lighting
- ISO 1600 ambient lighting
- ISO 3200 ambient lighting
- ISO 6400 ambient lighting
- ISO 12800 ambient lighting
- ISO 25600 ambient lighting
- ISO 51200 ambient lighting
- ISO 102400 ambient lighting
- ISO 204800 ambient lighting
This and many other tests reveal some interesting facts about the Sony A9 sensor. Firstly, noise only becomes apparent at ISO 6400 in good lighting. So if you have exposed your image correctly, there should be no problem at all shooting at that ISO or even 12800 in good light. It’s also not really distracting, and fine detail is still there at 100% crop. If we really start to pixel peep, there is some noise even visible at ISO 100, and yes this will be problematic when you start pulling up shadows or if you’re used to heavy image processing. I would say that at base ISO, you’ll get the same sensor performance as the original A7. As usual, above ISO 100, you’ll gradually see noise increasing but interestingly, it dips down again above ISO 600. In fact, ISO 800 appears to have just a bit less noise than ISO 200. This is significant, as you might as well have auto ISO start above 600 if you’re in a situation where you’re absolutely sure ISO 100 won’t cut it.

noise visible at ISO 100

100% crop
I would say that at base ISO, you’ll get the same sensor performance as the original A7. As usual, above ISO 100, you’ll gradually see noise increasing but interestingly, it dips down again above ISO 600. In fact, ISO 800 appears to have just a bit less noise than ISO 200. This is significant, as you might as well have auto ISO start above 600 if you’re in a situation where you’re absolutely sure ISO 100 won’t cut it.

ISO 100
Another thing you might notice is that there is less color shift at mid to high ISO than you’d expect. In terms of color, comparing ISO 100 to 12800 the images look more or less identical. More so anyway than any other Sony camera that I’ve tested. There is some serious math and programming at work here, and guess would be that this can be tracked down to a certain Sony engineer who filed a patent on this a few years ago. Marketing wise, this would, of course, be too complex to explain, so that department looked at the innovation here and decided it fell under the ‘sports’ moniker together with the other innovation like fast fps shooting, 60 fps metering, and AF.
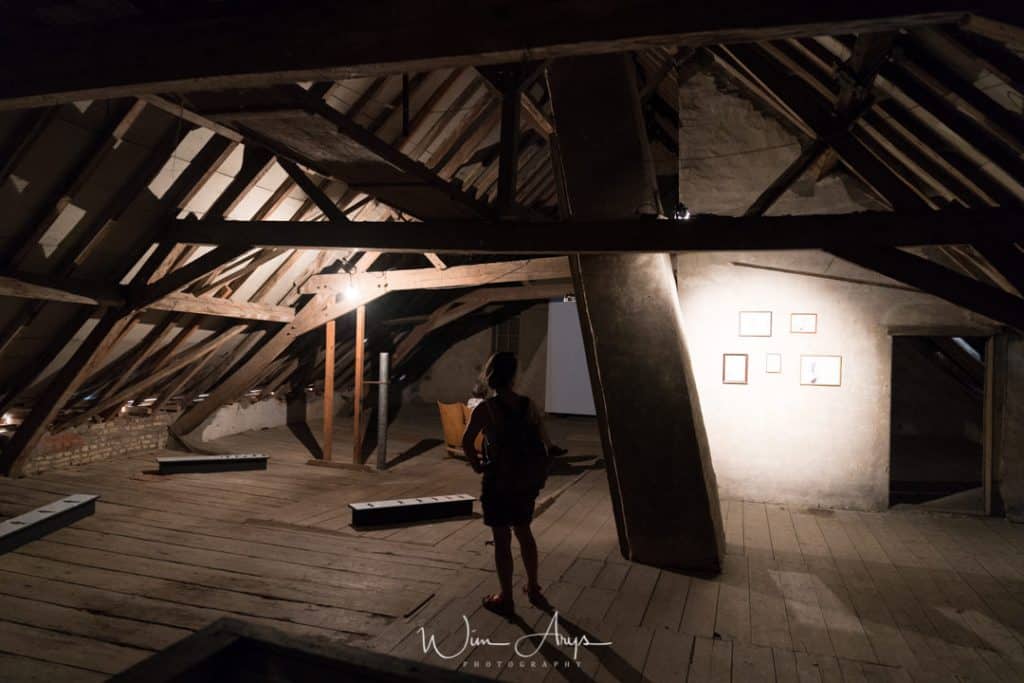
ISO 6400
Now, this is all dependent on your exposure of course, as I mentioned before, you need to get it right in-camera with the A9. If your image doesn’t look good as a soc jpeg, you won’t be able to do much to improve the RAW file afterward. This will be a big difference for anyone coming from an A7rm2, where bringing down highlights, turning up shadows and bumping exposure in RAW did not result in too much extra noise or other artifacts.
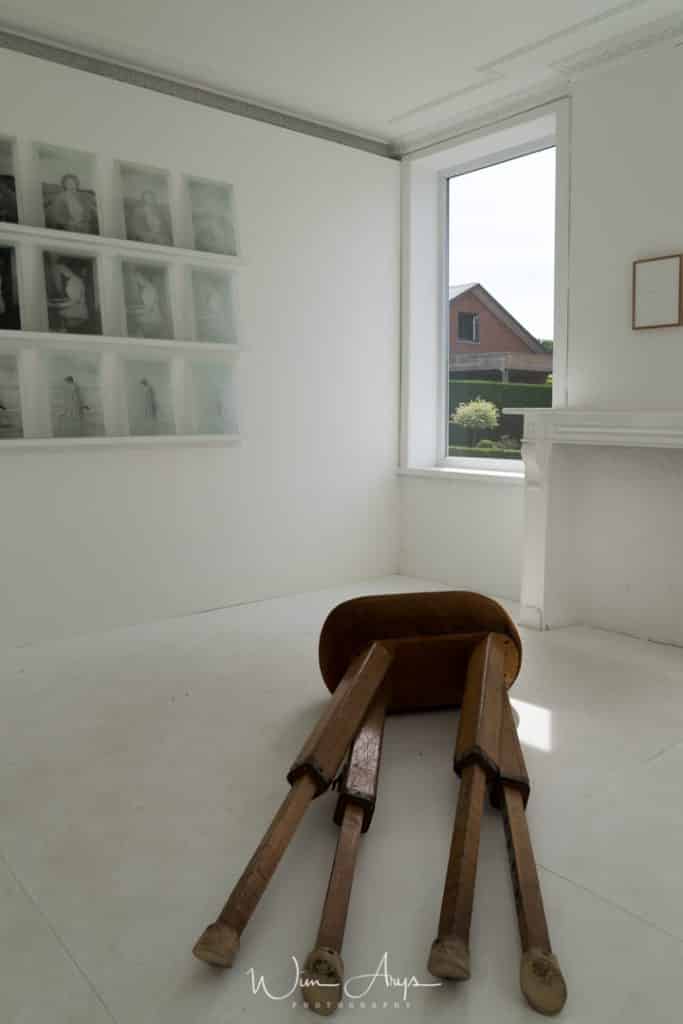
This is DRO comes in. An often overlooked feature on Sony Alpha cameras (because most of us shoot RAW anyway), only affecting JPEG. DRO is based around Apical’s IRIDIX image processing engine. This algorithm analyzes the data coming from the sensor pixel-by-pixel and will both enhance the contrast, add detail and normalize the overall brightness of your images in-camera. You’ll still have a RAW file next to it untouched, but this feature can help you get a little extra out of those in-camera Jpegs.

ISO 100 is an exception to this general rule for the A9. Base ISO has been kept relatively clean (though not as clean as you’d expect coming from the megapixel monster) so that this camera would still be more or less useful for flash photography, landscapes, and architecture. You’ll still be able to adjust highs and lows and add some trickery to your images with the same leeway as you’d have with say an A7.
Conclusion
From concept to final product, Sony really listened to their customers with the A9. Every aspect of the body has been improved upon, from extra dial to change focusing and shooting modes to a new joystick controller to change AF points and new customizable buttons. The EVF resolution also received a modest update and a 120fps refresh rate when shooting with the electronic shutter. The screen is now touch-sensitive and although the functionality is quite limited you’ll be able to change focus point and zoom in to check focus. A great new feature when using the LCD screen for shooting is that when you flip it out, the EVF is automatically disabled. This means no more accidental switching from screen to EVF, a major annoyance in previous A7 cameras.

ISO 6400
One of the most welcome improvements is a higher capacity 2280mAh battery, delivering over 2 times more power for longer shooting. Another new feature is the ability to use 2 SD cards, although only one is UHS-II compatible, unfortunately.

ISO 2500
The showstopper is, however, the new 4D autofocus system with 693 AF points covering 93% of the sensor that can track subjects as well as exposure reading at 60 frames per second and fast, up to 20fps shooting (JPEG and RAW compressed, although I would recommend uncompressed with this sensor) with zero EVF blackout and a large buffer to facilitate extremely fast writing speeds to the SD card. The stacked CMOS sensor has been optimized for action photography, meaning you’ll get better ISO performance and color reproduction than any Sony sensor from ISO 640 up to 128000. This optimization does come at the expense of performance at lower ISO. Especially the range above base ISO up to that magical number 640 actually has more noise and the addition of an anti-aliasing filter (and fewer megapixels) means you’ll definitely notice a decrease in sharpness compared to the A7rii. Even though Sony made efforts to decrease banding and rolling shutter effect, you’ll still encounter these phenomena from time to time.
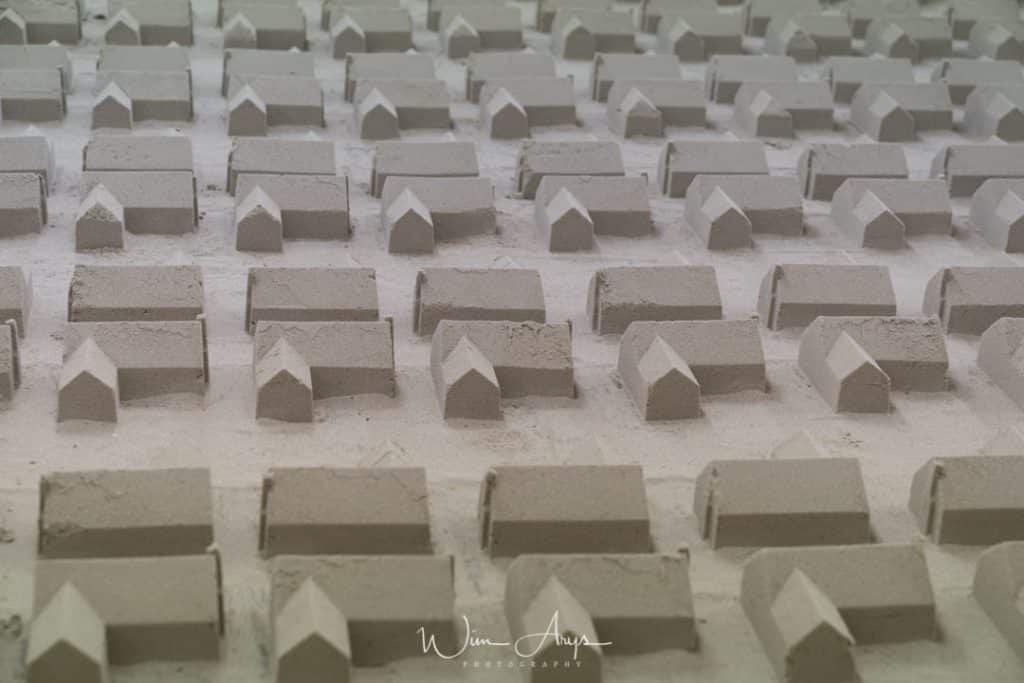
slight banding visible with fluorescent light
But these are all minor annoyances, who would have believed just a few years ago that any mirrorless system would be capable of such excellent performance and would even be able to handle fast action photography? Well, Sony has done this and more, and they’re up there with the big boys now in terms of autofocus speed, image quality, and functionality.
Finally, if you’re looking for some tips and tricks on how to setup your camera, have a look at my Sony A9 tips and tricks page.
- ISO 6400
- ISO 6400
- ISO 2500

































0 Comments