Time-Lapse Photography Basics: Capture Motion in Stunning Sequences
Time-lapse photography compresses hours of motion into a few seconds, creating mesmerizing videos that reveal changes over time. Whether you’re capturing a sunset, bustling cityscape, or blooming flowers, time-lapse photography can bring dynamic scenes to life. This guide covers the basics of time-lapse photography, including essential equipment, camera settings, and tips for creating smooth time-lapse sequences.
What is Time-Lapse Photography?
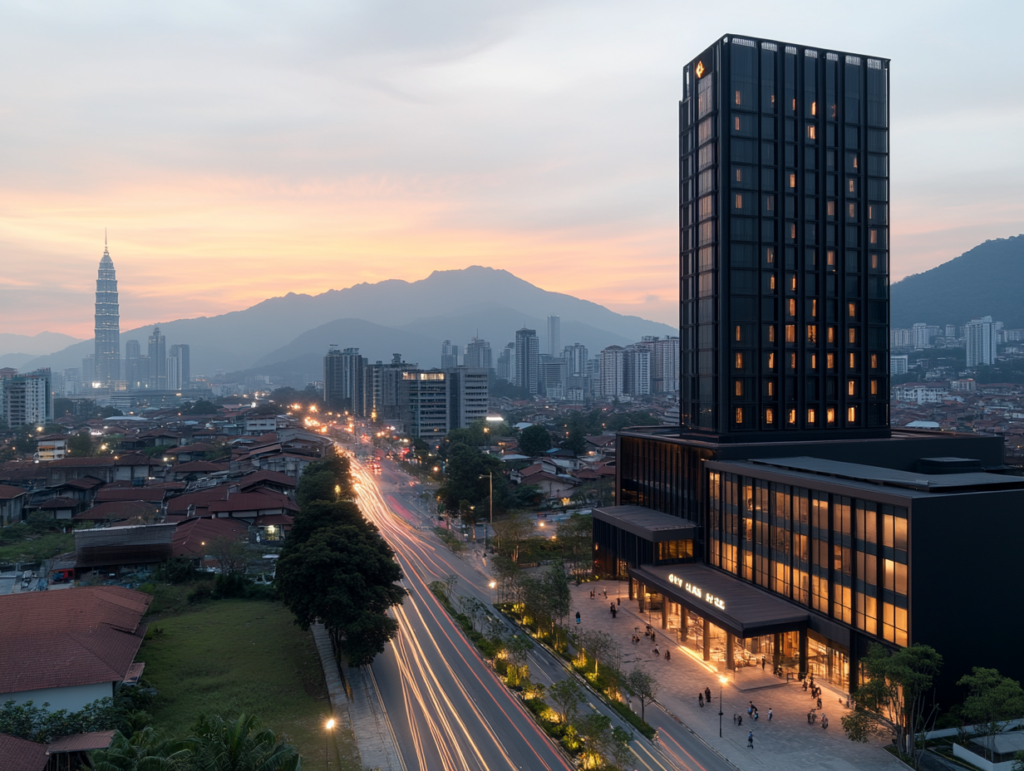
Time-lapse photography involves taking a series of images at regular intervals and then combining them to create a video that shows motion at an accelerated pace. By capturing one frame every few seconds, minutes, or hours, you can highlight changes that are too slow for the human eye to notice.
Essential Time-Lapse Equipment
1. Tripod
A tripod is crucial for time-lapse photography, as it keeps the camera stable over long periods, preventing unwanted movement or shake. Stability is essential for maintaining consistency in each frame, especially for long-duration time-lapses.
2. Intervalometer
An intervalometer is a device that automatically triggers the camera at set intervals, allowing you to capture frames consistently. Some cameras have built-in intervalometers, but if yours doesn’t, an external intervalometer is essential for time-lapse.
3. Lens Selection
Choose a lens based on your subject. Wide-angle lenses work well for landscapes and cityscapes, capturing the entire scene, while telephoto lenses can focus on specific details like clouds or traffic in the distance.
Setting Up Your Camera for Time-Lapse Photography
1. Shutter Speed
Shutter speed affects the amount of motion blur in each frame. For smooth motion, use a slightly slower shutter speed (e.g., 1/30s or 1/60s) to introduce a subtle blur. For a crisper look, use faster shutter speeds, but be aware that overly fast speeds may create a jittery effect.
Tip: Experiment with shutter speed based on your subject’s motion. Slow-moving clouds may benefit from longer exposures, while fast traffic requires shorter speeds.
2. Interval Timing
The interval is the time between each shot and depends on your subject’s speed. Here’s a general guide:
- Fast-Moving Subjects (e.g., crowds, traffic): 1-3 seconds.
- Slow-Moving Subjects (e.g., clouds, sunsets): 5-10 seconds.
- Very Slow Changes (e.g., plant growth): Minutes to hours.
3. Shooting Mode
Set your camera to Manual Mode to keep exposure, shutter speed, and ISO consistent throughout the time-lapse. This prevents flickering, a common issue caused by automatic exposure adjustments.
4. Focus Settings
Use manual focus to lock focus on your subject, ensuring each frame remains sharp. Autofocus may shift between shots, causing inconsistencies, so set focus before starting the sequence.
Popular Time-Lapse Subjects
1. Sunsets and Sunrises
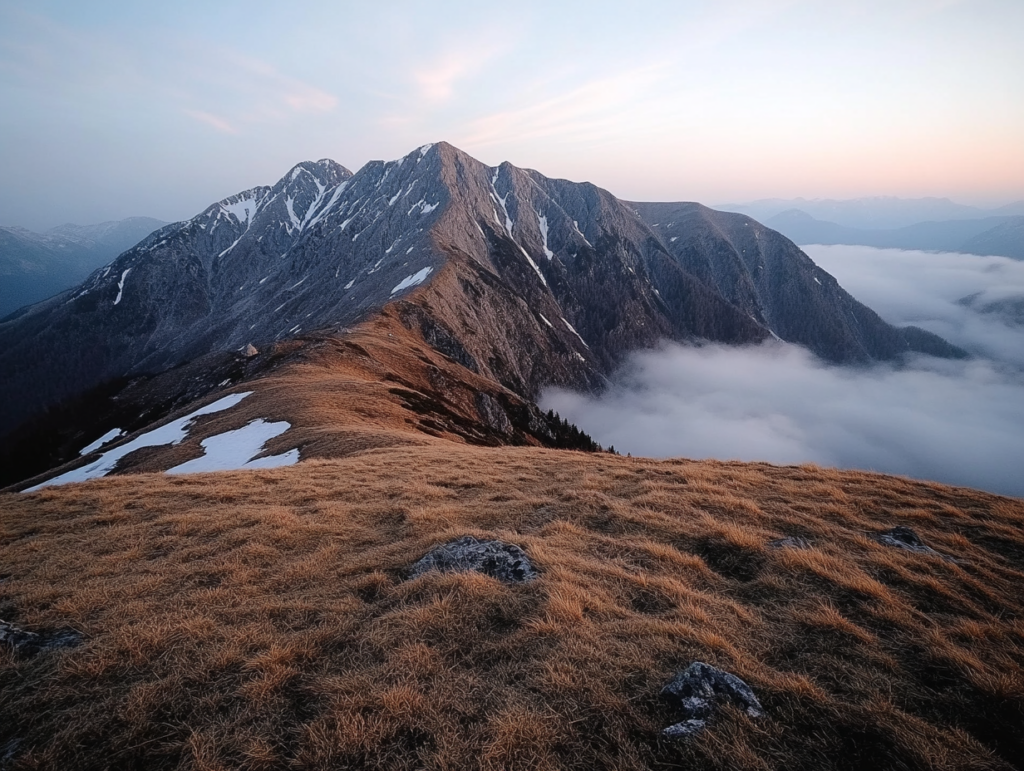
Time-lapses are perfect for capturing the dynamic colors and changes in light during sunrises and sunsets. Use a 5-10 second interval for these slow, gradual changes, and set a low ISO to reduce noise in darker frames.
2. Cityscapes and Traffic
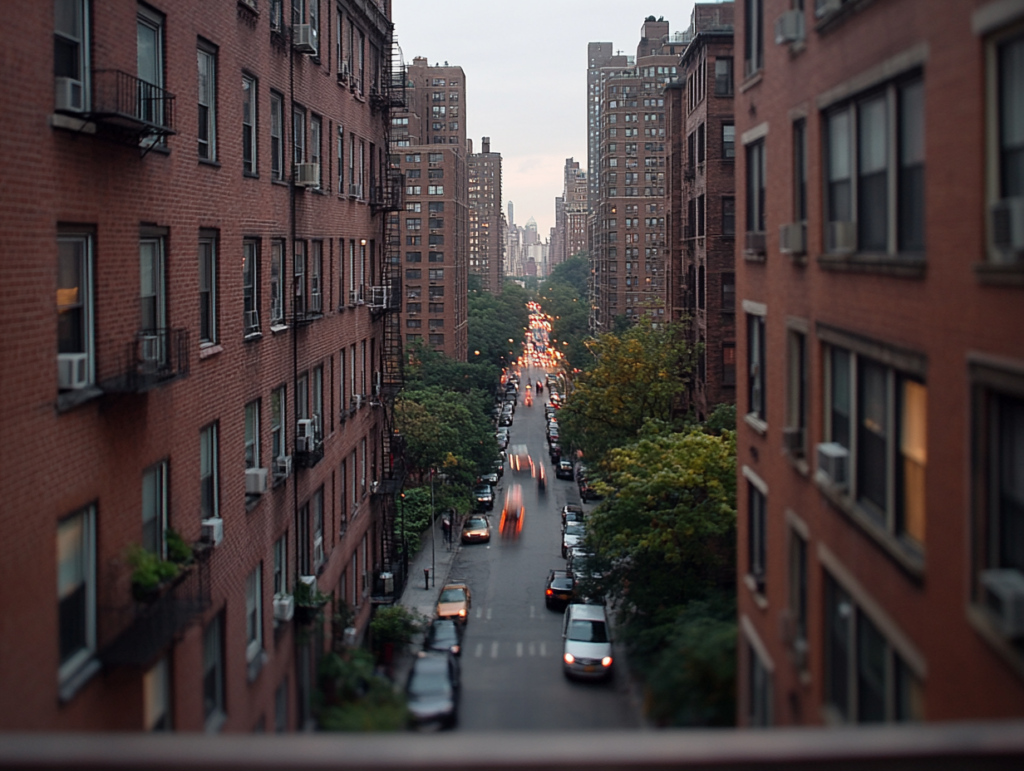
Capture the energy of a bustling city with a 1-3 second interval. Use a slower shutter speed to create light trails from vehicles, adding visual interest and motion to your time-lapse.
3. Cloud Movement
Clouds make great time-lapse subjects, especially on windy days. Use intervals of 5-10 seconds for faster clouds or 10-30 seconds for slower formations to capture their graceful motion across the sky.
4. Star Trails and Night Sky
Time-lapse can beautifully showcase star trails or the Milky Way. Use a wide-angle lens with longer intervals (15-30 seconds) and a longer exposure to capture as much light as possible in each frame. Keep ISO low to avoid excessive noise.
Editing and Compiling Your Time-Lapse
1. Organize and Import Photos
Once your time-lapse sequence is complete, import the photos into software like Lightroom, Photoshop, or dedicated time-lapse software like LRTimelapse. Organize them by sequence to simplify editing and compiling.
2. Adjust Exposure and Color Consistency
Correct exposure and color balance in your photos to ensure a smooth transition between frames. Batch-edit in Lightroom for consistent adjustments across the sequence.
3. Create the Time-Lapse Video
Use video editing software like Adobe Premiere Pro or Final Cut Pro to compile the images into a video. Set the frame rate to 24 or 30 frames per second for a smooth, cinematic result.
Tip: Add background music or sound effects to enhance the impact of your time-lapse video.
Common Time-Lapse Mistakes and How to Avoid Them
- Flickering: Use manual mode and consistent exposure settings to prevent flickering caused by changing light conditions or automatic settings.
- Unstable Shots: Always use a sturdy tripod to keep frames consistent and aligned.
- Incorrect Interval Timing: Choose intervals based on your subject’s speed to ensure smooth motion without skipping too much detail.
FAQs
How many frames per second should I use for time-lapse?
For time-lapse videos, 24 or 30 frames per second (fps) is standard. This frame rate produces smooth motion while keeping file sizes manageable.
What is the best interval for cloud time-lapse?
For cloud time-lapses, use an interval of 5-10 seconds for fast-moving clouds or 10-30 seconds for slower-moving clouds. This interval provides enough frames to show smooth motion.
How do I prevent flicker in time-lapse photography?
Use manual mode for exposure and white balance to avoid flickering caused by automatic adjustments. Additionally, consistent lighting conditions reduce flickering.
What is an intervalometer, and do I need one?
An intervalometer is a device that automatically triggers the camera at set intervals. It’s essential for time-lapse photography, as it allows you to capture frames consistently over time.
Additional Resources
- Exposure Bracketing Tips – Learn how to use bracketing for dynamic exposure control in changing light.
- Long Exposure Settings for Night Photography – Discover settings for capturing long-exposure shots, perfect for night sky time-lapses.


0 Comments