Understanding Sony’s Video Autofocus Settings: A Comprehensive Tutorial
Sony’s video autofocus technology has become one of the most powerful tools in filmmaking, allowing creators to capture moving subjects accurately and effortlessly. This guide provides a comprehensive overview of the autofocus settings across Sony’s camera range and includes expert advice on choosing the best configurations for cinematic results.

Key Autofocus Modes and When to Use Them
1. Autofocus Continuous (AF-C)
- Best For: Moving subjects or when either the camera or subject is in motion.
- How It Works: This mode keeps the subject in focus continuously, making it ideal for tracking a subject in a dynamic scene.
- Practical Example: When filming sports or action scenes, such as a runner moving toward the camera, AF-C ensures they stay in focus without manual adjustment.
- Tip: Use cameras like the FX3 or A7SIII for optimized AF-C performance, while older models may struggle with complex movements.

2. Autofocus Single (AF-S)
- Best For: Static subjects and fixed compositions.
- How It Works: This mode locks focus on a single point when the shutter is pressed halfway and does not adjust if the subject or camera moves.
- Tip: Ideal for interviews or stationary shots, as it ensures consistent sharpness without the need for adjustments.

3. Manual Focus (MF)
- Best For: Absolute control over focus, especially in complex scenes.
- How It Works: Allows precise adjustments, useful in landscapes, panoramas, and product videography to prevent unintentional focus changes.
- Tip: Enable manual focus after acquiring focus with AF-S for tasks like time-lapse or panoramas.

Choosing the Right Focus Area
1. Wide Area
- Best For: Capturing a clear subject within a broad, uncomplicated scene.
- How It Works: Uses the entire frame to determine focus, which works well for scenes with minimal distraction or when the subject is dominant in the frame.
- Tip: Works well with Real-Time Eye Autofocus, especially for solo subjects in interviews or talking head shots.

2. Spot Focus (Small, Medium, Large)
- Best For: Precise control over a specific area within the frame.
- How It Works: Focuses on the selected area of the screen, ideal for focus racks or moving focus between multiple subjects in a narrative scene.
- Tip: Choose a smaller spot size for close-up work or rack focusing between two subjects.

3. Zone Focus
- Best For: Situations where the subject is within a specific portion of the frame.
- How It Works: Narrows the focus area to a zone, making it easier to capture a subject moving within that region.
- Tip: Useful in crowded environments, such as a street scene, where you want to isolate the subject without background focus shifts.

Advanced Autofocus Settings
1. AF Transition Speed
- What It Does: Controls how quickly the camera shifts focus between subjects.
- Settings Recommendation:
- Fast Transitions: For action sequences or fast-paced events.
- Slow Transitions: For cinematic focus pulls where gradual focus shifts add a dramatic effect.
- Tip: Test settings in your scene to ensure the focus shift matches the visual impact.
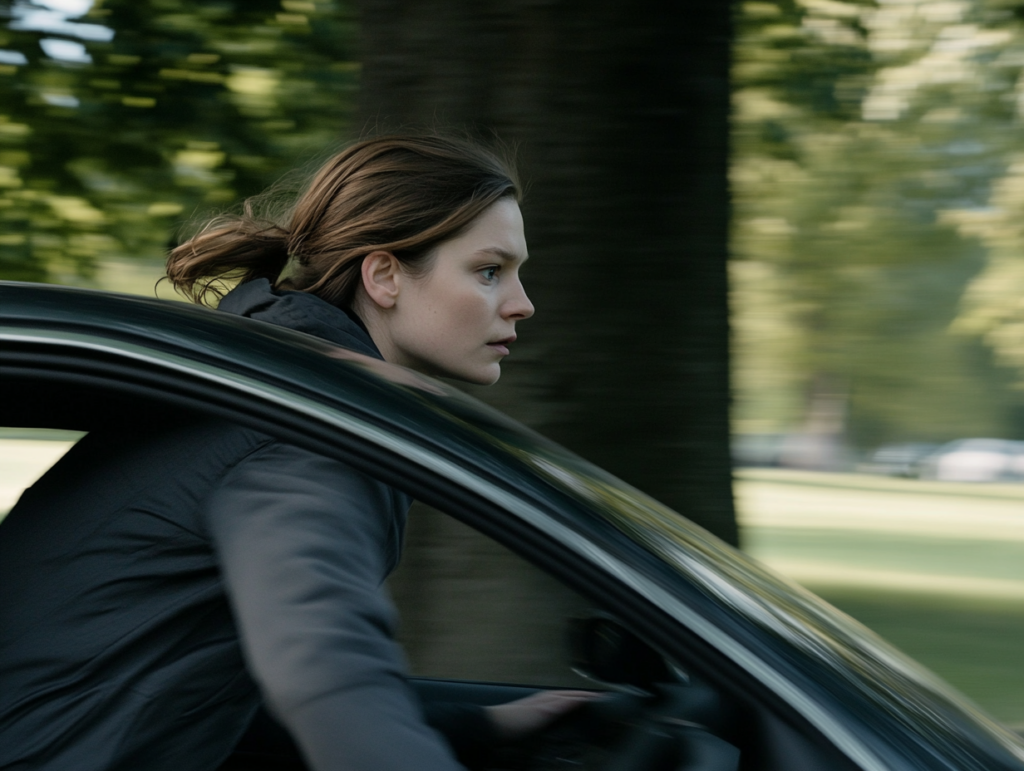
2. Subject Shift Sensitivity
- What It Does: Adjusts the autofocus sensitivity to lock on or release focus from moving subjects.
- Settings Recommendation:
- High Sensitivity: For scenes with rapid refocusing needs.
- Low Sensitivity: For controlled focus, keeping it locked on the main subject.

Special Features to Enhance Autofocus

1. Real-Time Eye and Face Detection
- What It Does: Tracks a subject’s eyes or face in real-time, keeping the focus locked even with movement.
- Tip: Enable Eye AF for close-up shots of people, such as interviews or vlogs, and consider left or right eye selection for more control.
2. Touch Tracking and Touch Focus
- What It Does: Enables focus on a subject selected by tapping the LCD screen, simplifying live focus adjustments.
- Tip: Tap the subject on the screen to lock focus instantly without adjusting other settings.
3. Focus Breathing Compensation
- What It Does: Minimises the visible ‘zoom effect’ (focus breathing) that occurs when focusing between two subjects.
- Tip: Enable this feature when using lenses prone to focus breathing, such as the Sony 35mm f/1.4 GM, for enhanced cinematic quality.
FAQ
Q: Can I use autofocus effectively for high-action scenes?
A: Yes, Sony’s autofocus performs well in high-action scenarios. For best results, set the camera to AF-C with a wide or zone focus area, and adjust AF Transition Speed to a high level for quick response.
Q: What is the difference between Spot Focus and Zone Focus?
A: Spot Focus pinpoints a specific area within the frame, ideal for precise focus shifts or focus racking. Zone Focus confines focus to a larger area within the frame, which is more forgiving and suited for tracking moving subjects within that zone.
Q: How do I set up Real-Time Eye Autofocus for video?
A: Ensure Eye AF is enabled in the menu, select AF-C, and choose a focus area like Wide or Zone. This setting will automatically track the subject’s eye, maintaining focus even with slight movements.
Q: Why does my Sony autofocus struggle in low light?
A: In low light, autofocus can become less accurate due to limited contrast. Consider switching to manual focus or increasing the sensitivity setting if your camera model supports it. Also, using a lens with a wider aperture can help in low-light conditions.
Q: What is the recommended AF Transition Speed for cinematic effects?
A: For smooth, cinematic focus changes, use a slower AF Transition Speed. Adjust to 3 or lower on newer Sony cameras to ensure a gradual shift that adds to the scene’s emotional impact.
This guide provides the essential settings and techniques to master autofocus across Sony’s camera range. With the right configuration, you can achieve sharp, professional results for various filmmaking scenarios.

0 Comments