Upgrade your iMac 2017 RAM with MrMemory.co.uk review
Introduction
My last iMac was about 4 years old, and was starting to crash on certain photography oriented software. With the launch of the new line of 2017 iMacs, I decided it was time to take the plunge and upgrade my system. As I mainly use my iMac for photo editing, I always go for a 27 inch model and the fastest available processor (4,2 GHz Intel Core i7). This costs more yes, but it will be fast enough to run modern software for at least a year longer, saving you money in the long run. And upgrading the processor to the i7 is actually 100 Euro cheaper with the top of the line model. The 27 inch iMac models also have the added benefit of a user upgradable RAM port. Now the standard retail version comes with only 8 GB of RAM, grossly underpowered for a machine like this if you ask me. Upgrading to 16 GB will set you back 200 Euro, 32 will cost 600 Euro and the maximum 64 GB will set you back a whopping 1400. Incredible prices, and it’s quite easy to do this yourself and save you some (at least 50%!) money.
iMac 2017 RAM specifications
When looking for suitable RAM for your iMac, it should be compatible with these specs:
- PC4-2400 (19200)
- Unbuffered
- Nonparity
- 260-pin
- 2400MHz DDR4 SDRAM
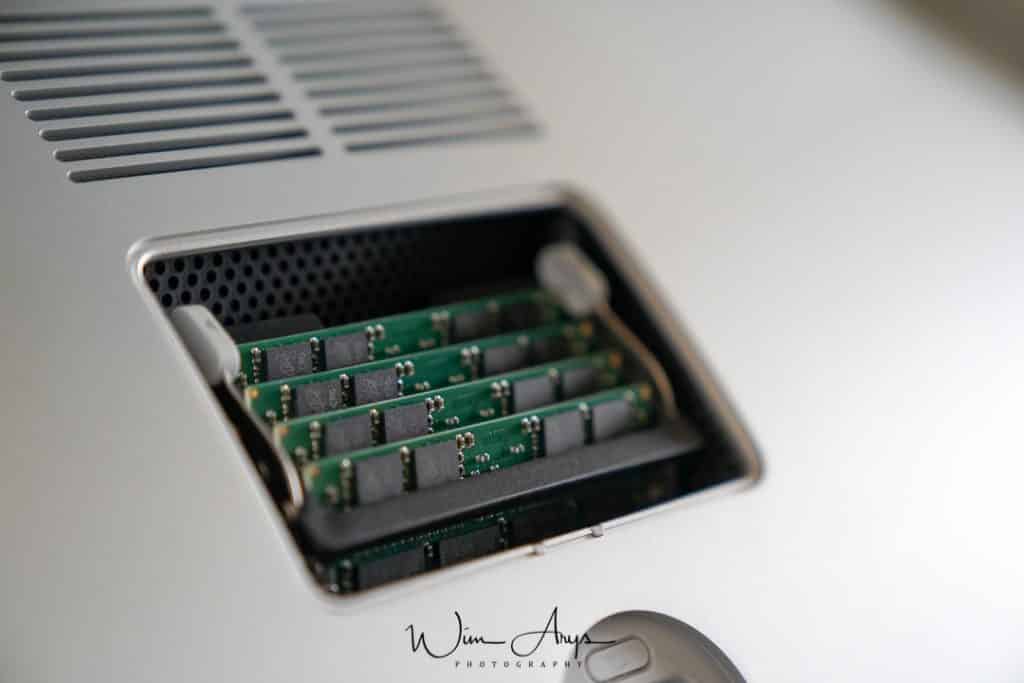
The 2017 model has 4 RAM slots, capable of holding up to 64 GB, so that’s four 16 GB modules. Since the iMac 27″ comes with only 8 GB preinstalled (two 4 GB modules), it’s advisable to add two 16 GB PC-2400 modules for a total of 40 GB of RAM. You’ll need this if you’re running applications like Photoshop and Lightroom. No Apple, 8Gb won’t cut it.
There are now three third party companies that supply RAM for the latest Macs: Crucial, Kingston and Corsair. Prices range from 120 to 200 Euro per 16 GB module, my advice is go for the cheapest available. I’ve been upgrading Mac RAM for 20 years, and I’ve never encountered any failures or problems with even the cheapest non-branded products. Crucial has Mac specific RAM, and advises against using their non-Mac RAM with the same specs, but as long as you follow Apple’s guidelines, I think you’ll be fine.
Where to buy the cheapest iMac 2017 RAM upgrade
Photographers always need to be price conscious, so on my quest to find the cheapest yet high quality RAM modules, I came across a UK based company called Mr Memory. Their DDR4 2400MHz sells for around 130 Euro and they offer free delivery throughout Europe. Since this seems to be non branded, I called their UK office and asked for some extra info. I talked to their chief operating officer Kerry Harnes and she confirmed that their cheapest modules were 100% compatible and if fact the same as sold by Crucial.
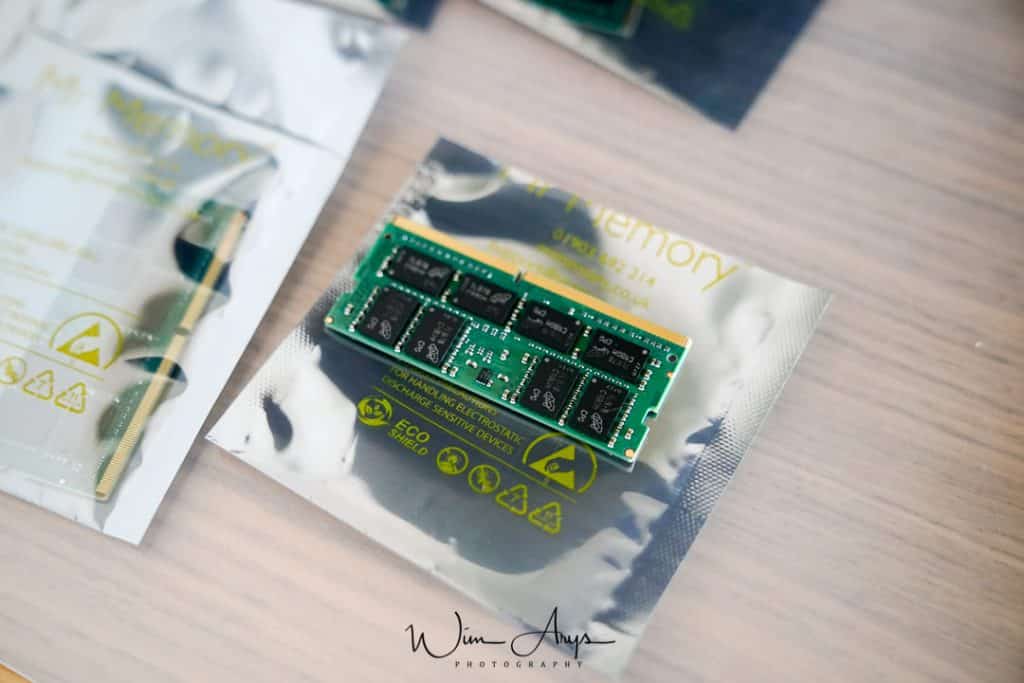
So I decided to take the plunge. Within a couple of days the RAM modules arrived in a sturdy, padded envelope. Each module is packaged separately in anti static foil/plastic bags.
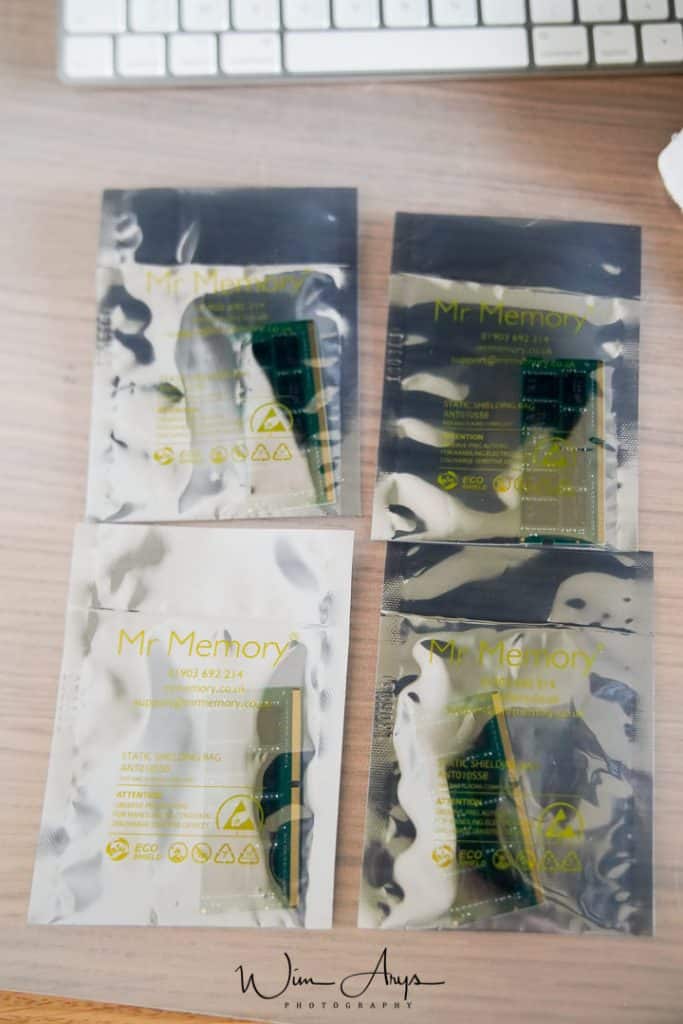
The modules themselves don’t really reveal much more information, but neither do the 4 GB modules already installed in the iMac. As I mentioned earlier, as long as the specs are right, it will work. Read on to find out how to install and if everything checks out!
iMac 2017 RAM installation
Installing RAM in a 27 inch iMac 2017 is very easy.
Firstly, turn off your computer, disconnect the power cable and allow it to cool down for a while. You’ll need a large towel or something soft to protect your screen as you’ll need to place your iMac face down in order to acces the RAM terminal on the back.
You’ll notice a small recessed button on the power connector terminal. Take a pen and gently push downward.
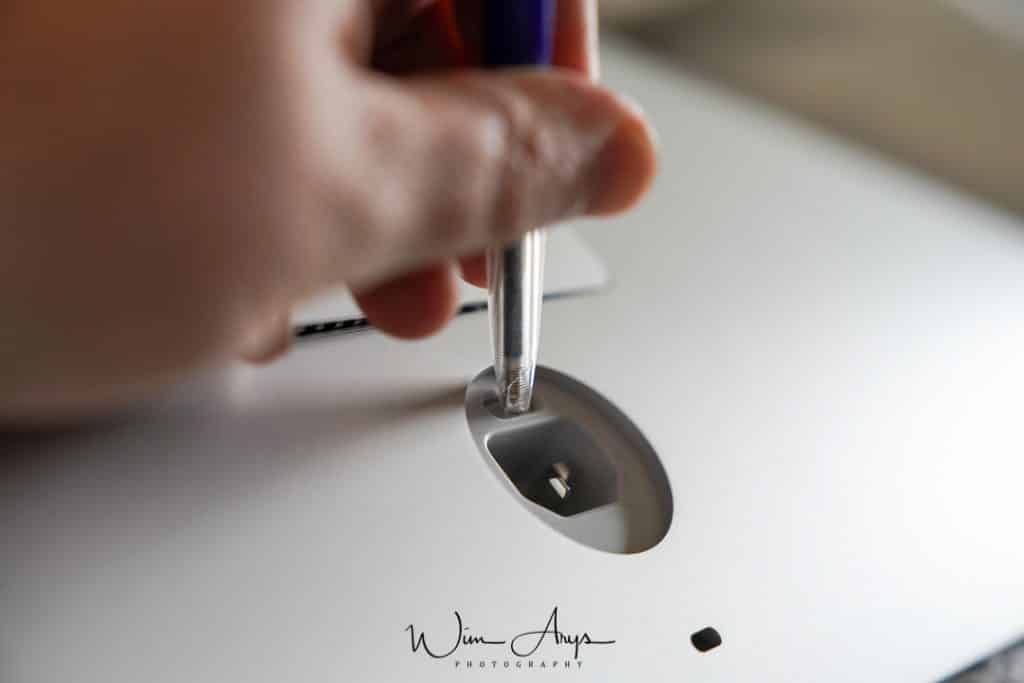
The RAM port will open up and you’ll be able to lift the lid off.
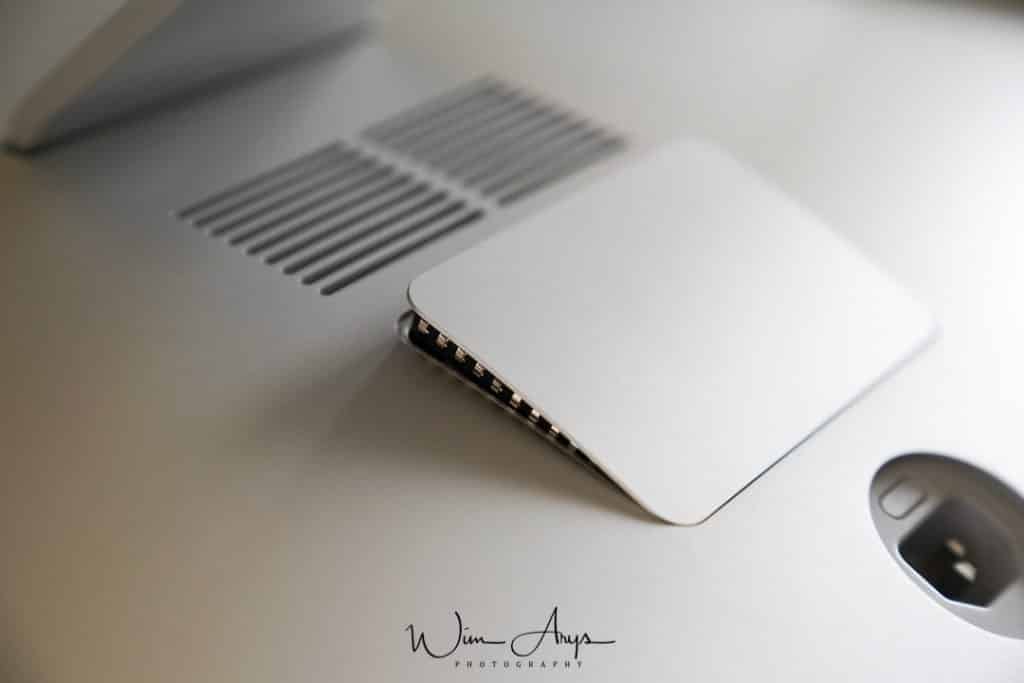
There you go, the two pre-installed 4 GB modules are visible.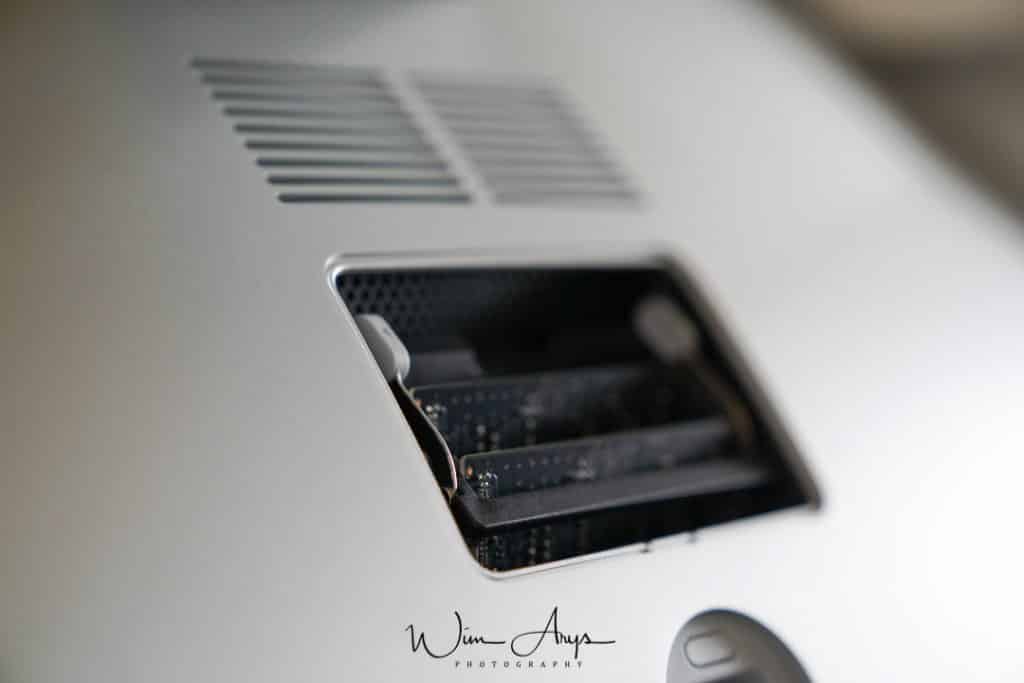
To the left and right sides of the modules, you can see two hinges. Using both hands, push them to the left and right respectively. This will release the locking mechanism and the entire bay will move upwards.
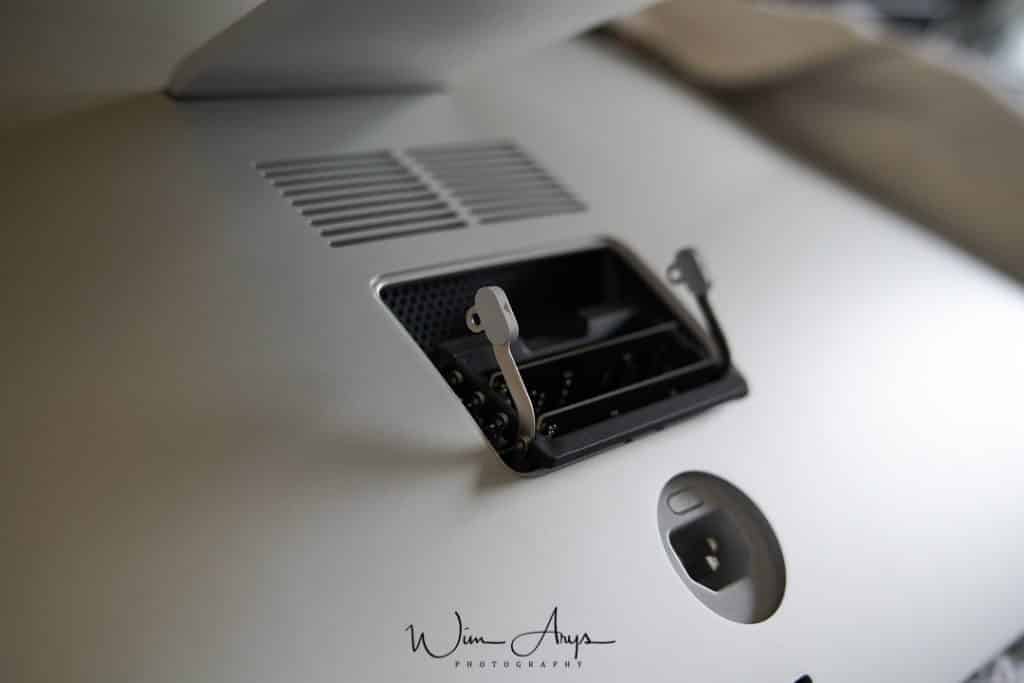
I’m adding four 16 GB modules here, so I needed to remove the factory RAM too. Gently grab one module at a time and it will slide out very easily.
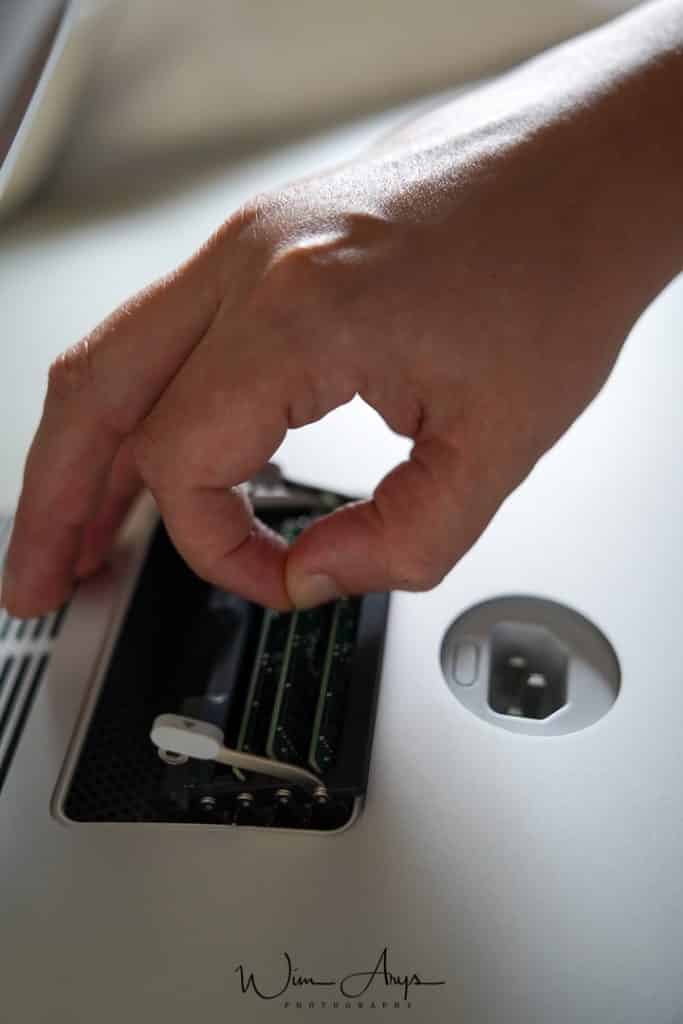
Same thing applies to inserting the modules, slide them in one by one, making sure that they are securely seated. And that’s it, 64 GB installed! You need to push the 2 hinges back inward now, towards the RAM modules (resist the urge to push downward) and the port will slide back in. If you feel at any point that you have to apply lost of pressure, you’re probably doing something wrong.
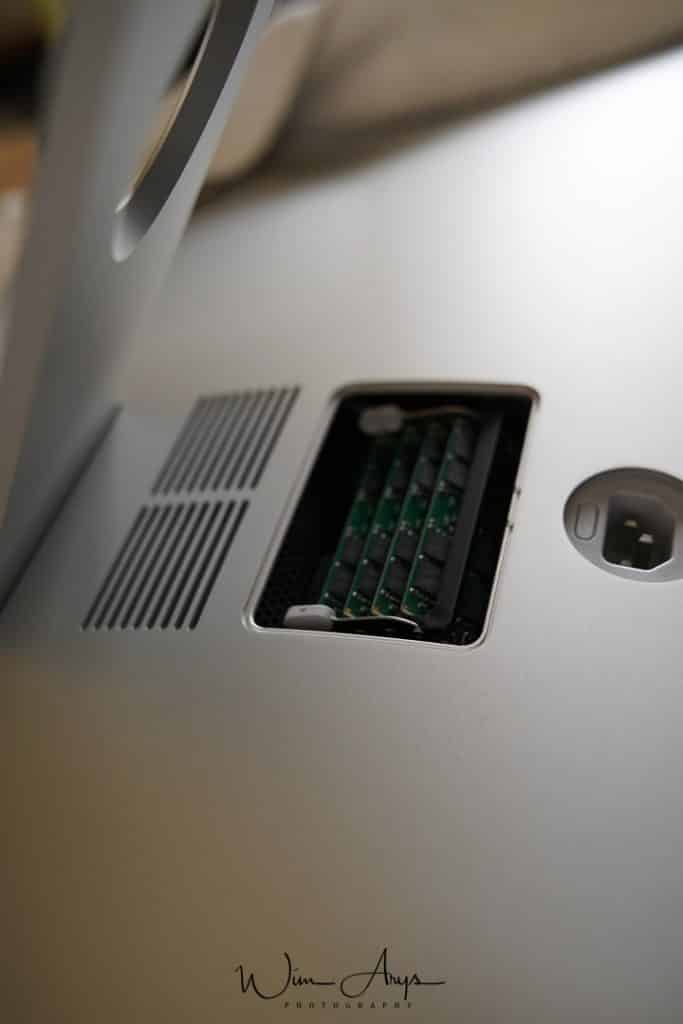
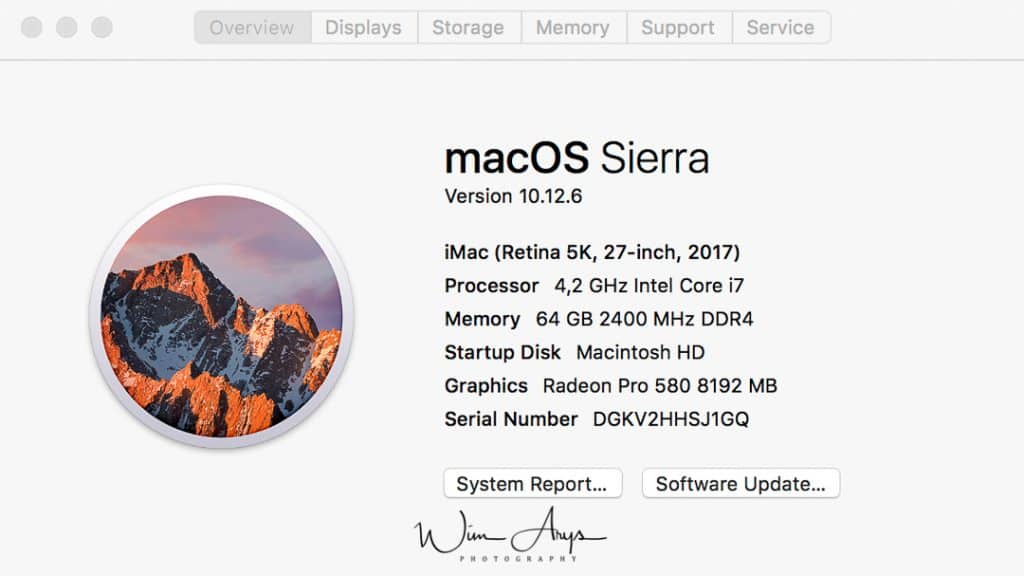
Now we just need to push the lid back, make sure you have it the right way around and that it is securely closed. Now, get your iMac back on the foot, insert the power cable and start up. First startup might take some time as your computer will check the RAM. Once the system has booted, go to “About This Mac” and if all was done correctly, you should see 64 GB 2400 Mhz DD4.
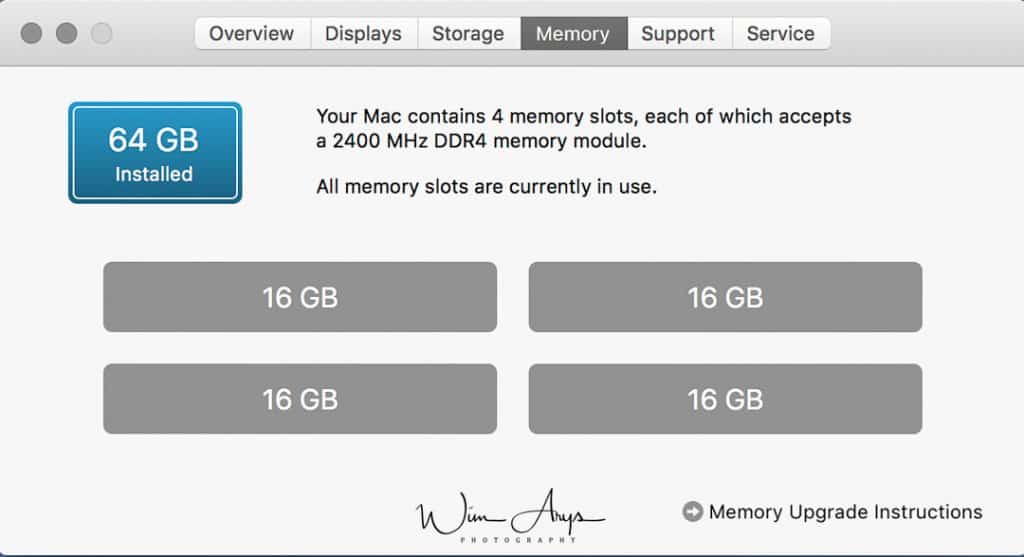
You can also press the memory tab in the “About This Mac” Menu.
And finally, go to system report and then Memory for a full status check of all the modules.
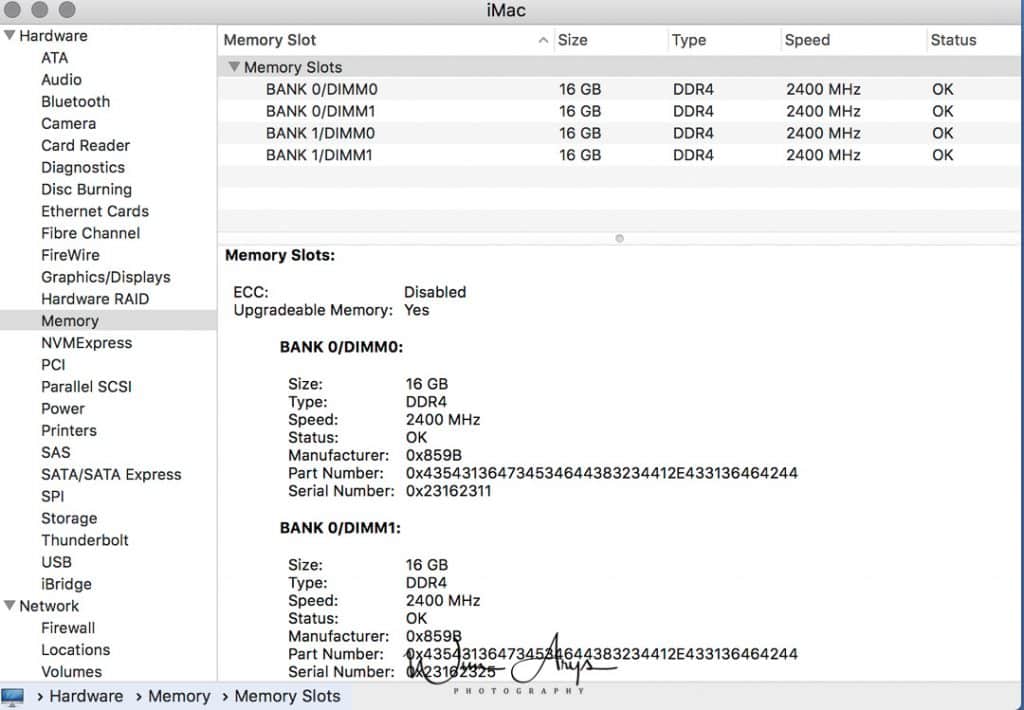
Checking the Manufacturer code 0x859B, this does indeed reveal the the RAM manufacturer is Crucial.
Conclusion
If you have a 2017 27″ iMac, the standard 4 Gb RAM won’t be enough to run anything beyond the basic email and webbrowser apps. If you’re serious about photo editing and are running applications like Lightroom and Photoshop, you’ll need to add at least two 16 Gb modules for a total of 40 Gb RAM. Upgrading directly through the Mac store would set you back around 600 Euro’s, but since it is so easy to upgrade the RAM in the 27 inch model yourself, you can get 2 16 GB modules for less than half that from either Crucial, Kingston or Corsair. The cheapest retailer I have found is Mr Memory, an online store based in the UK, that sells them at around 130 euro including VAT. These come in their own packaging but are in fact from Crucial and work perfectly according to Apple specifications.


0 Comments